The Windows servicing stack relies heavily on the WinSxS (Windows Side-by-Side) component store, which houses all the system files, manifests, and metadata required to service, patch, and maintain the operating system. Corruption within this store can manifest as persistent update failures, integrity check errors, or an inability to apply new servicing operations. Traditional file-level repair methods such as SFC are often ineffective in these cases because they depend on WinSxS itself for clean copies. This is where the Deployment Image Servicing and Management (DISM) tool comes into play. DISM operates at the image level, providing mechanisms to inspect, validate, and repair the component store by sourcing known-good binaries either locally or from external repositories such as Windows Update.
For more details on the repair process please see Unable to Install Windows Updates or Windows Components.
In this post we know what we need to do, just how do we get the WIM file mounted and use the correct image inside of the WIM?
List WIM Contents
We need to match the OS that needs repair to the correct source files. That means we need to look inside the WIM and get the name or index of the relevant image. I prefer index number as there is less typing, thus less to get wrong. You will see index being used below.
DISM /Get-WimInfo /WimFile:D:\sources\install.wim

In this scenario we need the source files for index 2. This is:
Index : 1
Name : Windows Server 2025 Standard (Desktop Experience)
Mount WIM File Using DISM
Now that we know that the correct OS to use is contained within index 1, let's mount that using DISM.
Note that the Mount folder must exist and the source is read only so we need to use those options. See below for the errors if that is not done.
DISM /Mount-Image /Imagefile:D:\sources\install.wim /MountDir:C:\Mount /Index:1 /ReadOnly

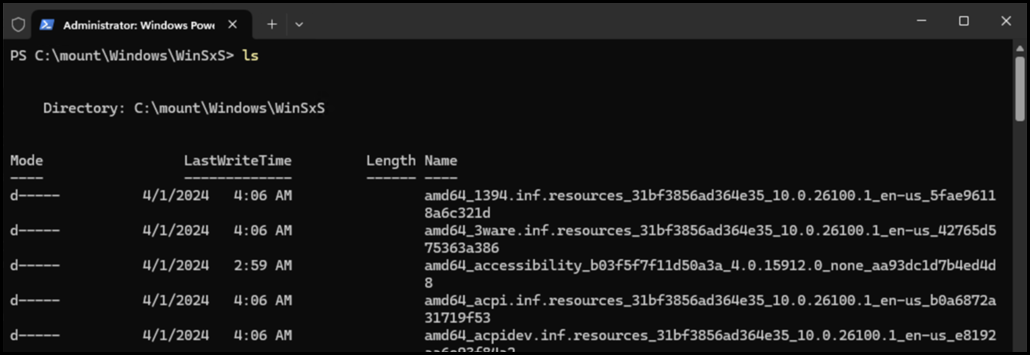
You may also want to ensure that the expected path is correct, else you will waste time running a lengthy DISM command is valid. Take the extra 10 seconds to list the directory contents to ensure that you actually see source files in the expected directory.
Unmount Image
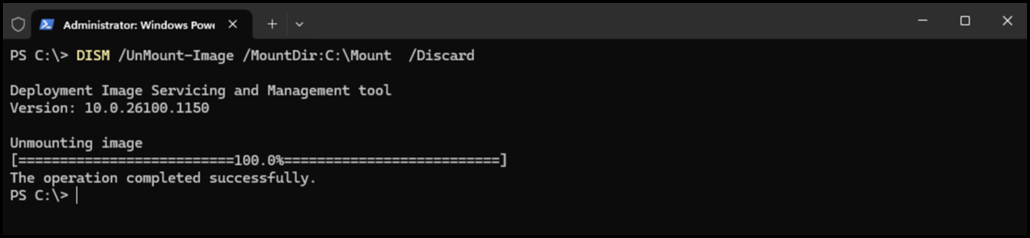
Finally when we are done, the mounted image is to be dismounted. No changes were made as this was only a repair task, so we add the /Discard option.
DISM /UnMount-Image /MountDir:C:\Mount /Discard
Issues
Read Only
If the source is not on a writable disk, or you do not want the possibility of making changes then mount it using the /ReadOnly switch.
Should that be missed, then you will get this error:

Deployment Image Servicing and Management tool
Version: 10.0.26100.1150
Error: 0xc1510111
You do not have permissions to mount and modify this image.
Verify that you have Read/Write permissions or mount the image using the /ReadOnly option. Note that you cannot commit changes to an image with read-only permissions.
The DISM log file can be found at C:\Windows\Logs\DISM\dism.log
Omitting Index or Name
We need to specify exactly what is to be mounted. If you do not specify that, DISM does not know what to do and you will get an error:

Mount Folder Must Exist
If the folder specified for the mount location does not exist, then the WIM file will not be mounted. Simply create the folder and re-run the command.

Deployment Image Servicing and Management tool
Version: 10.0.26100.1150
Error: 0xc1420115
The user attempted to mount to a directory that does not exist. This is not supported.
The DISM log file can be found at C:\Windows\Logs\DISM\dism.log
Cheers,
Rhoderick