Update -- Note that DirSync, Azure AD Sync are no longer supported. The below is for legacy reference only.
Installing and maintaining the directory synchronisation tool is a required step in your hybrid environment. The documentation to Install the AADSync Service is available on TechNet.
The installer will check and verify the current version of synchronisation tool if it is already installed. If there is no version, then a fresh copy will be installed.
The below are the install screenshots for the DirSync to Azure AD Sync Upgrade
Starting Configuration
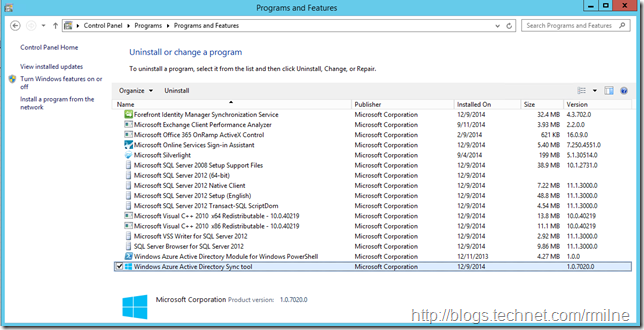
In this lab, DirSync build 1.0.7020.0 is currently installed.
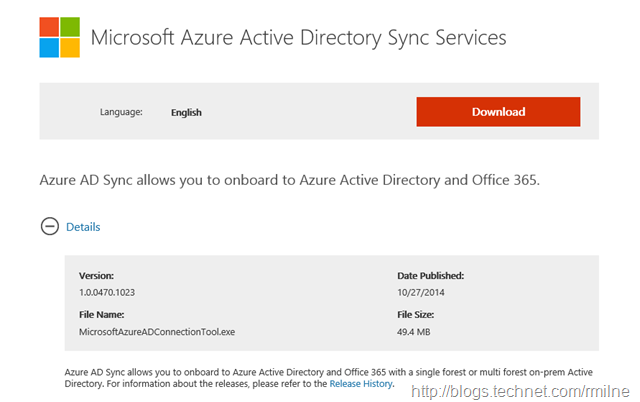
From the Microsoft Download Centre we can download Azure AD Sync. At the time of writing the latest version is 1.0.0470.1023 dated 27th October 2014.
The release history for AAD Sync can be found on MSDN. For reference, the DirSync release history is on the TechNet Wiki.
This option would be recommended for most customers with a small and simple deployment. If it is expected that the deployment will take less than 3 hours, following these steps:
- Ensure DirsSync configuration is fully documented
- Uninstall DirSync or FIM
- Install Azure AD Sync on the same server
A lot of customers will use this opportunity to upgrade the server OS that DirSync is installed onto. Typically Windows Server 2012 R2 will be used at this point.
During initial installation, Azure AD Sync will read identity data from on-premises Active Directory and Azure AD.
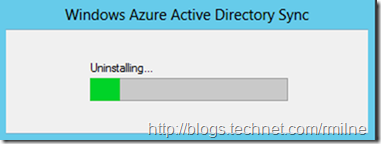
Uninstall DirSync
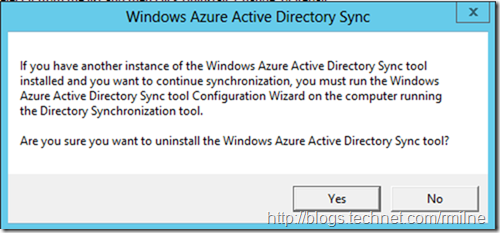
from Add/Remove programs uninstall DirSync. The existing version of DirSync prompts you to consider a potential scenario if you are cutting over to another instance of DirSync.
DirSync uninstall completes
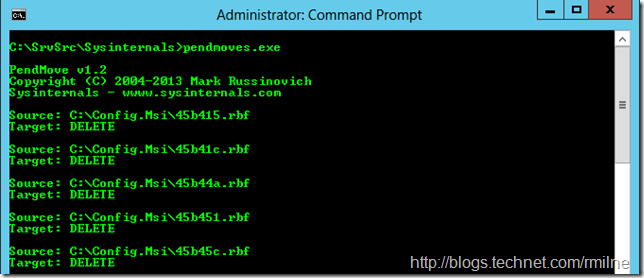
A server restart is needed. Pendmoves.exe shows that there are pending file actions.
Installing Azure AD Sync
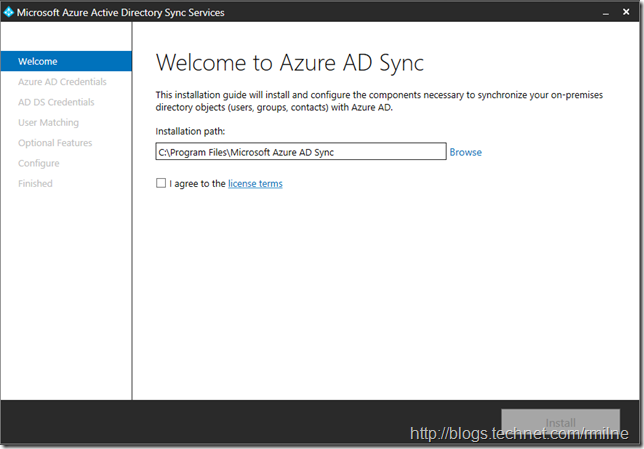
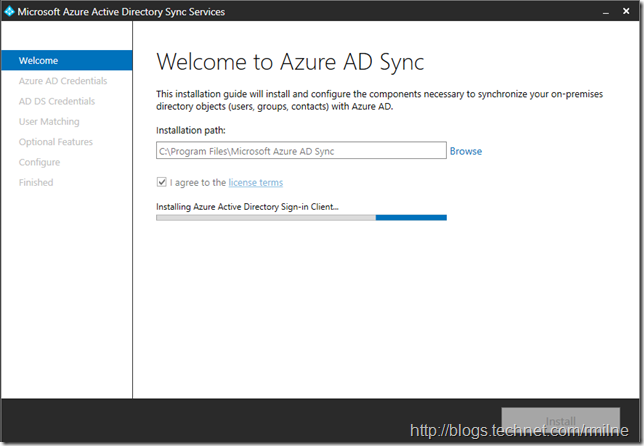
We run the Azure AD Sync installer to start the installation process, this is MicrosoftAzureADConnectionTool.exe
The default installation path is shown below.
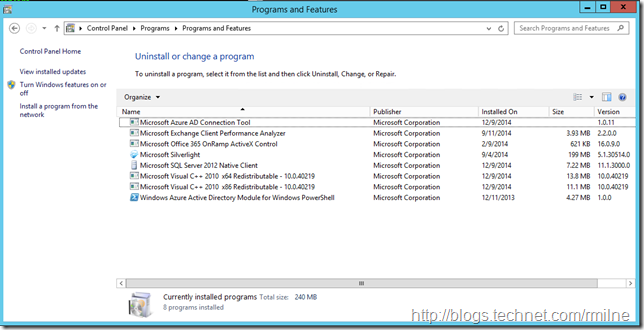
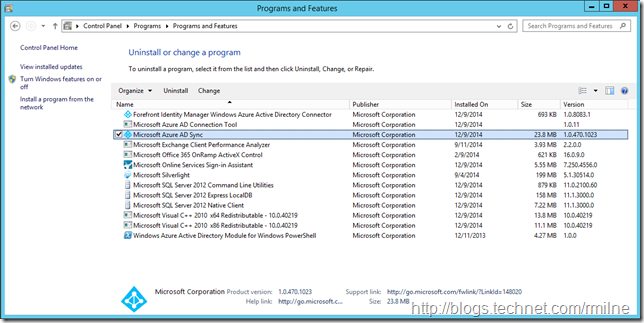
At this point, the components are listed in Add/Remove programmes
And Azure AD Sync will prompt to continue the configuration.
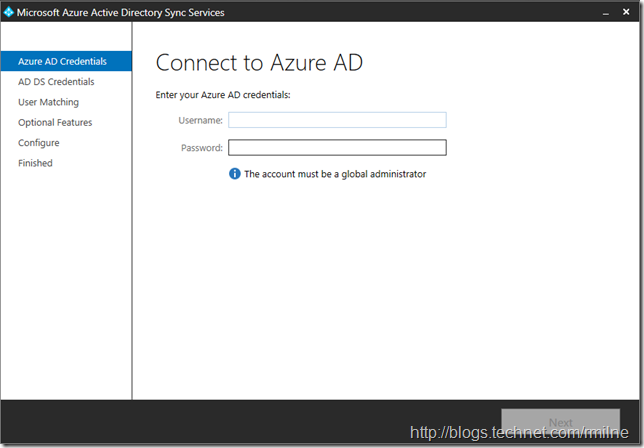
You will need to provide Global Admin credentials for Office 365 so the wizard can connect to the tenant.
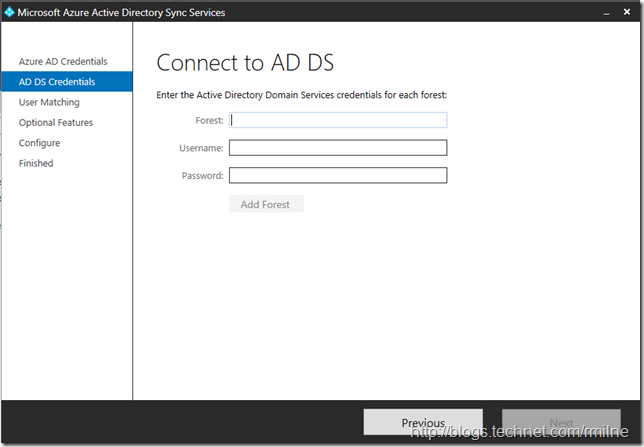
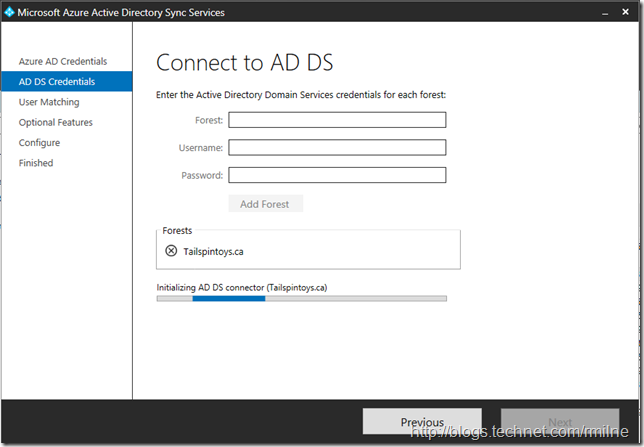
Credentials are also required for on-premises to be able to connect to AD.
Once the AD credentials have been provided, the Add Forest button can be added to browse and select the on-premises forest(s).
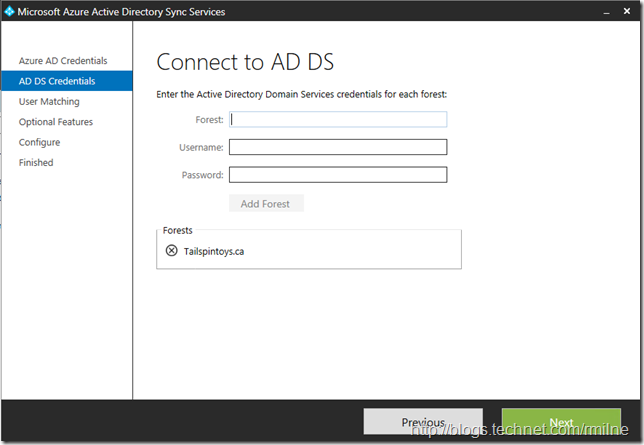
In the example below, you can see that the Tailspintoys.ca forest has been added.
After clicking Next, the wizard will do the required tasks to configure Azure AD Sync and its required connectors. There will be a connector to AD and also a connector to Azure AD.
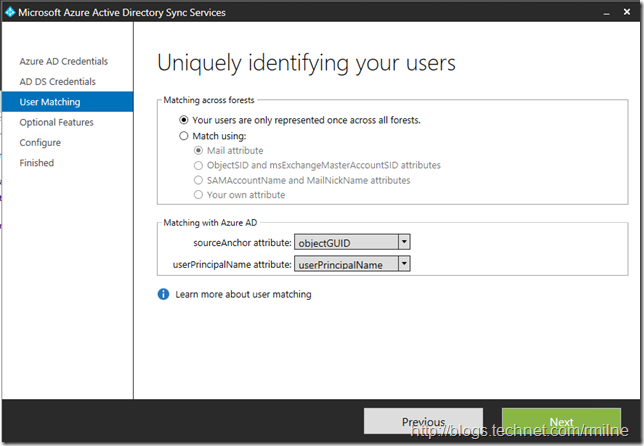
One of the most important options is selecting how to identify and match user objects.
The options note how the users will be identified. In the simplest situation there is only a single AD forest. However in larger organisations there may be multiple forests and potentially a single user could have accounts in one or more of these domains.
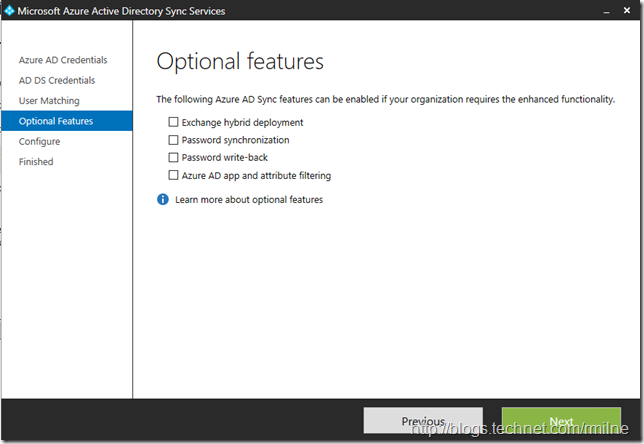
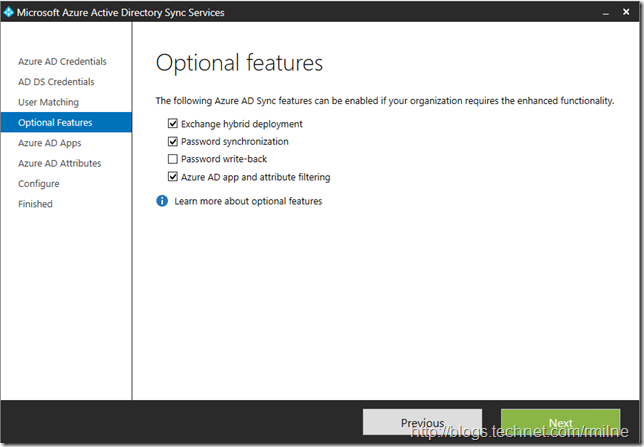
If you want to enable rich co-existence between your on-premises Exchange infrastructure and Office 365 (Exchange Hybrid), you can do this by selecting the Exchange hybrid deployment optional feature. When selecting this feature, you enable Azure AD Sync to write-back attributes to your on-premises environment.
The password write-back feature provides your users with a convenient method to reset their on-premises passwords in the cloud. During the configuration of Azure AD Sync, you can activate password write-back as optional feature.
The appropriate options are selected, and we click next to move forward in the wizard.
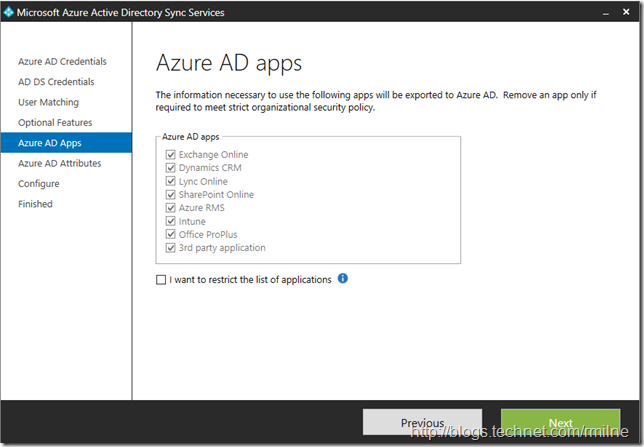
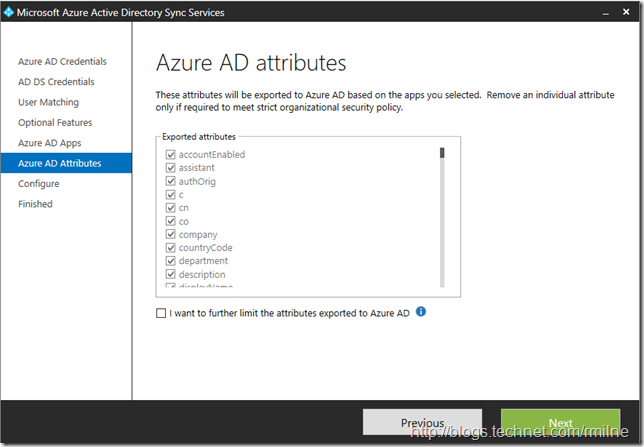
It is possible to limit the attributes synchronised in Azure AD Sync, and the selections below provide an easy option to ensure that the required attributes for a given workload are synchronised.
By default all workloads are synchronised, and the entries can be tailored to match your install requirements.
The next screen shows the Azure AD attributes listed out based on the previous workloads selected.
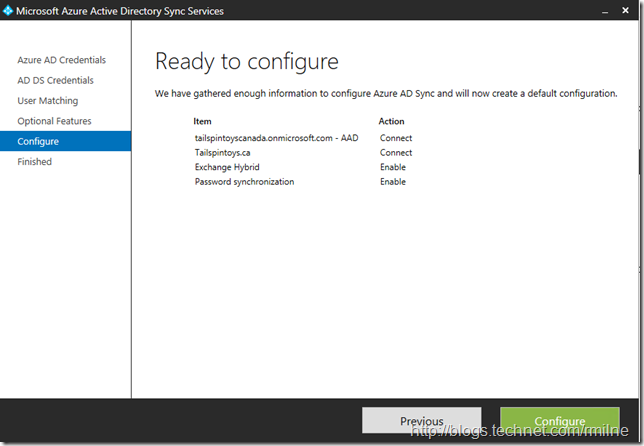
Then we are ready to execute and deploy the configuration.
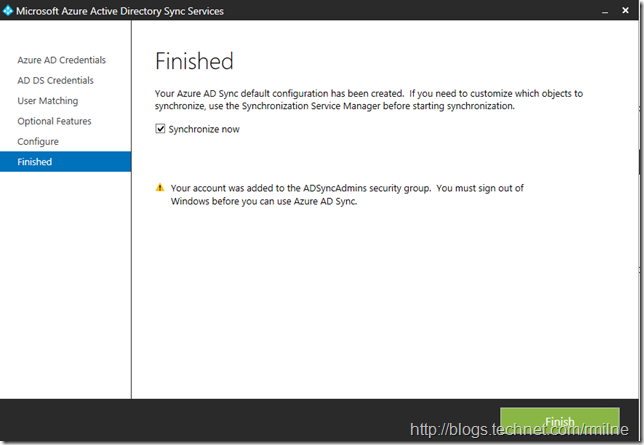
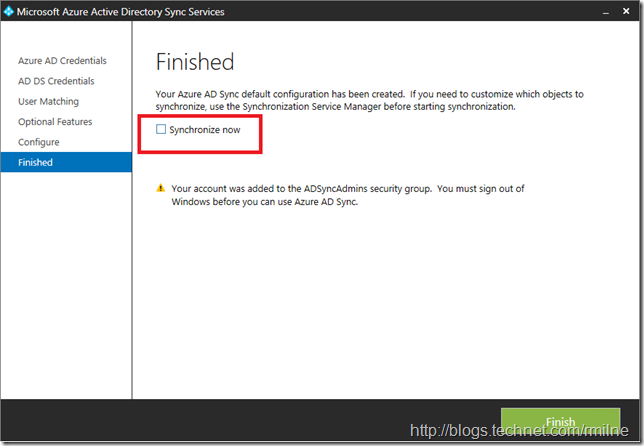
Once the configuration has completed, a synchronisation cycle should be kicked off if no changes are required to the synchronisation options. For example if you do NOT want to exclude an OU, then you can simply start the sync. However in many organisations, there will be a requirement to exclude OUs. That is the flow shown in the subsequent screenshots.
Also note the section where the installing account is added to the ADSyncAdmins security group.
Since we want to customise the synchronisation options, the Synchronize Now option is disabled.
Configuring Azure AD Sync
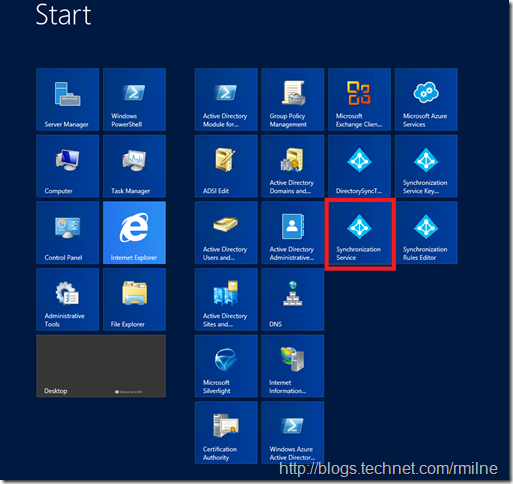
Azure AD Sync is now installed and configured. Do not be tempted to use either the shortcut on the desktop or run: "C:\Program Files\Microsoft Azure AD Connection Tool\DirectorySyncTool.exe" since that will restart the configuration tool.
We can use the MIISClient to exclude an OU for example, this is located in:
C:\Program Files\Microsoft Azure AD Sync\UIShell\miisclient.exe
Once the necessary options have been made, then the synchronisation job can be initiated using PowerShell.
Cheers,
Rhoderick
