The Office 365 HCW has been updated and now supports Exchange 2010. Previously only Exchange 2013 and 2016 were the only versions supported by the initial release of the Office 365 HCW.
For details on the updated support position please see this post on the Exchange Team Blog. This means that the HCW built into the Exchange 2010 product is not to be used, and should now be considered unsupported.
There are many new features in the Office 365 HCW that will not make you sad about leaving the old HCW behind. For example, the new wizard has:
- An updated user experience that simplifies the hybrid configuration process
- The error handling experience allows for simple remediation of issues, meaning you can actually read and understand the error
- Fixes for HCW can happen quickly and are no longer tied to the on-premises product release cycle
- Inefficient code that caused the HCW to take hours to run has been completely reworked and now you should be in and out in minutes
- Many more enhancements explained in the previous blog post
Launching Office 365 HCW
In Exchange 2013/2016 you can navigate to the EAC and launch the HCW from the hybrid section, you cannot do that on Exchange 2010 MMC.
To install and launch the HCW on Exchange 2010, go to this shortcut URL in Internet Explorer.
This will download and install the HCW, and a shortcut will be placed on the desktop. To run the HCW again you can simply go back to the same URL or use the shortcut.
Running Office 365 HCW
The Screenshots below show the user experience when running the HCW.
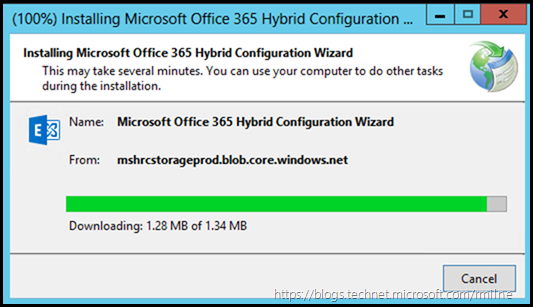
Note that the HCW content is stored on Azure, you can see this in the From section below. This is why access must be allowed to this endpoint and it is documented in the Office 365 IP and URLs requirements page.
The application will be downloaded and installed. You should be using Internet Explorer for this.
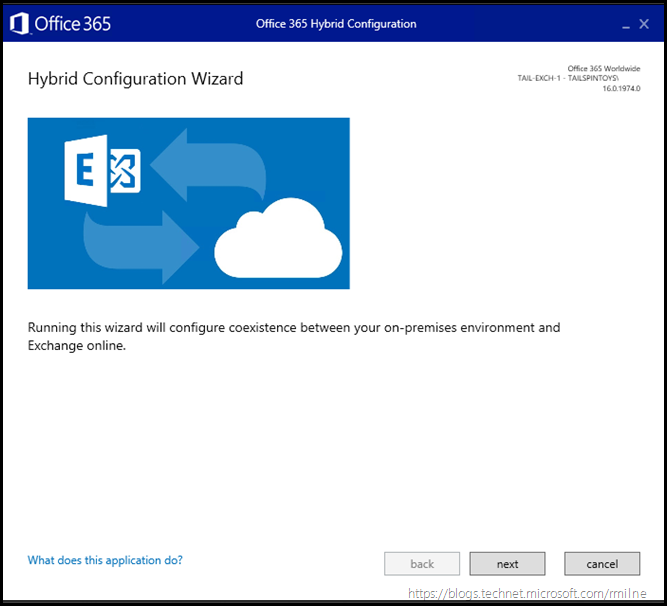
Once you have installed and accepted the various pop-ups, the HCW experience will launch.
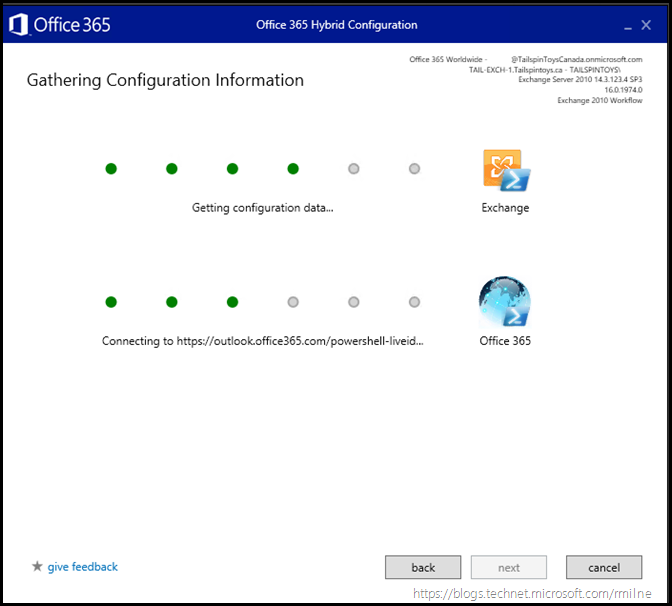
Note the detail in the top right corner. You know the version of the HCW and which Office 365 environment you are connected to - very cool!
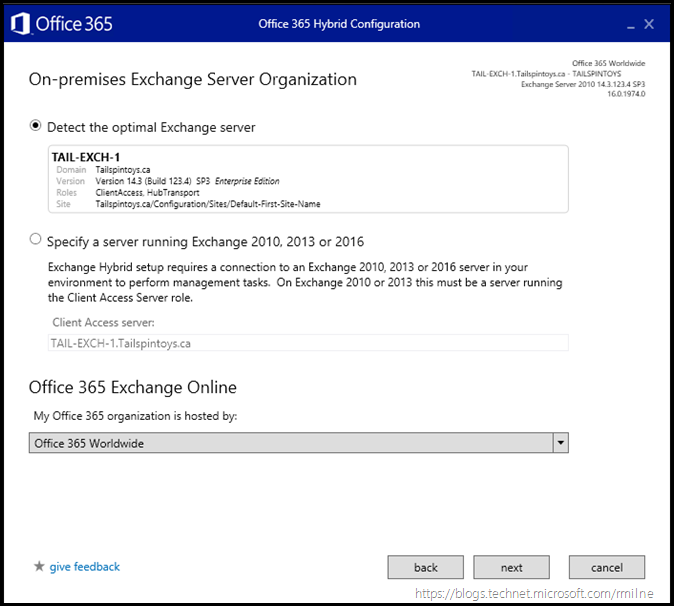
The HCW will try and determine the most optimal server, this will be the latest version present in the environment. The default selection can be overridden if required.
Note that you will see the feedback option on every screen, this is in the bottom left corner in the image about.
This allows you to provide feedback to the Hybrid PM directly.
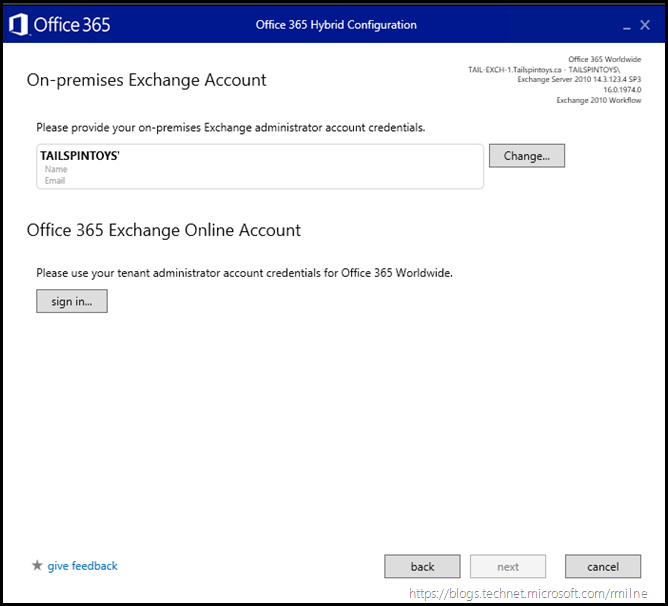
You need to provide on-premises and Office 365 credentials so that the HCW can connect and perform the necessary configuration steps.
These actions will be executed under the user context you provide. They are not stored, and used to perform the required configuration changes.
The credentials are verified along with connectivity to the on-premises and Office 365 endpoints.
The on-premises one typically connects faster, so give the other one a little more time. When they have both successfully connected, all the dots will green and you can click next.
Until that stage is reached, the next button is greyed out.
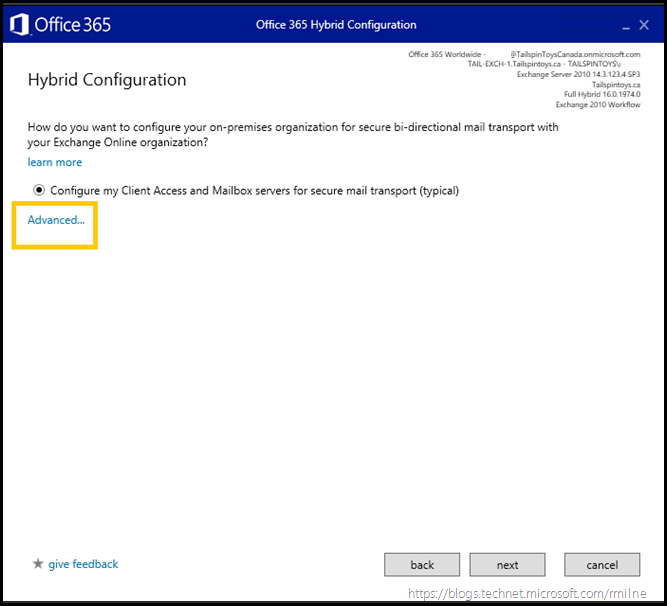
We now chose how to implement the hybrid configuration.
In the below screen, we can click to expand the Advanced option. This allows us to chose an advanced mail routing option which is explained in more detail next.
Clicking advanced shows the below option to enable Centralized Mail Transport. As the name implies the feature tries to centralise the mail flow, and messages sent to the Internet will be routed via on-premises.
For more details please review:
Learn more about centralized transport in a hybrid deployment
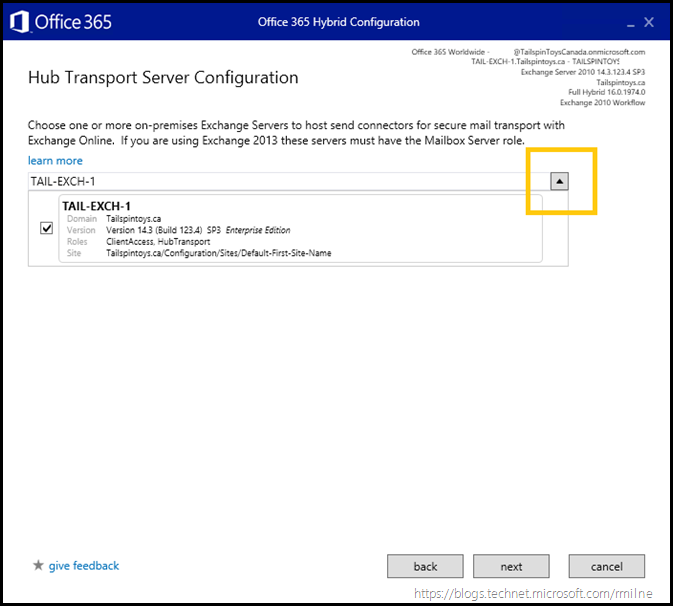
Continuing on with the transport configuration, we select which server(s) will participate in cross-premises mail flow. In this lab there is a single server, so the number of the counting will be one.
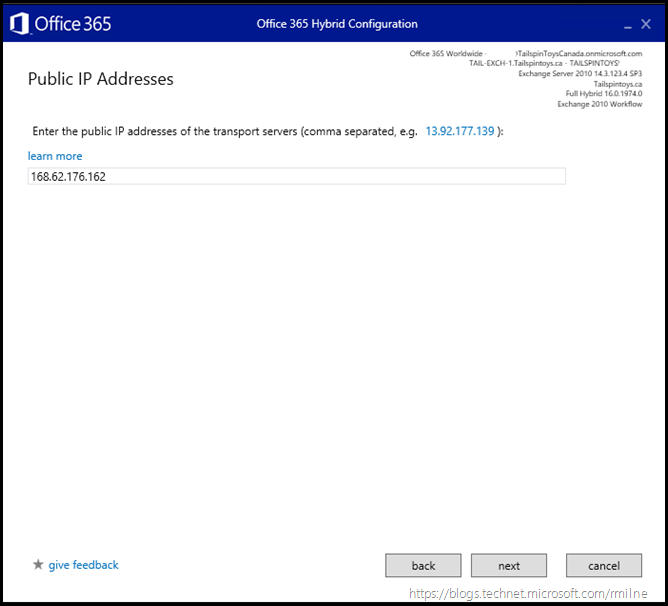
As an added bonus, the HCW tries to detect your external IP. Click the highlighted IP to copy and then can paste it into the entry field.
The other IP shown was from a previous HCW execution when the VM had a different public IP addess.
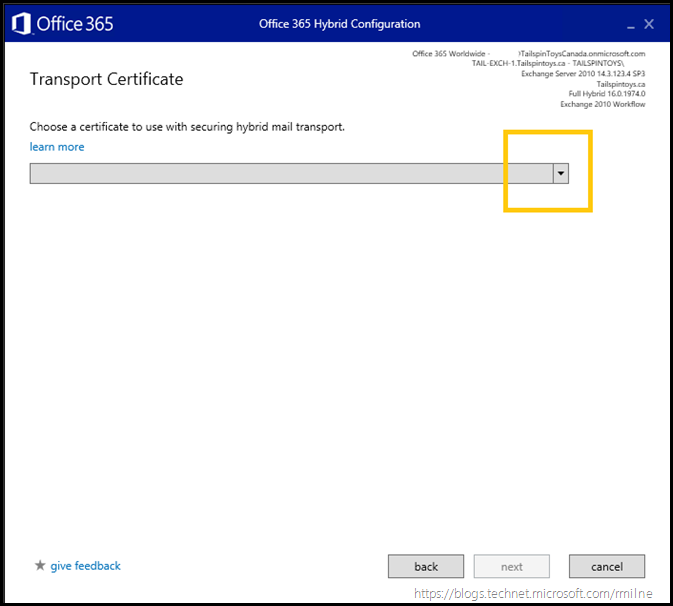
We need to select the correct TLS certificate for cross-premises mail flow. This needs to be a valid and trusted 3rd party certificate which is bound to the SMTP service.
Select the correct certificate from the drop down.
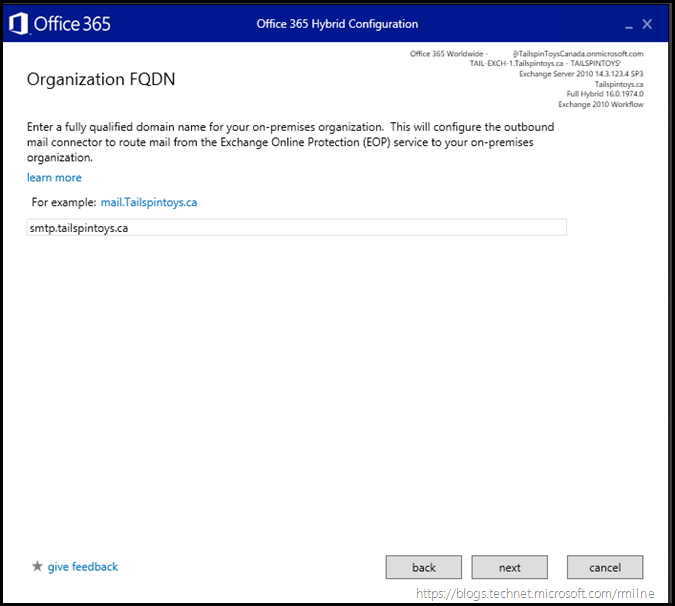
You then need to provide the SMTP namespace which EOP will use to route messages to your on-premises environment.
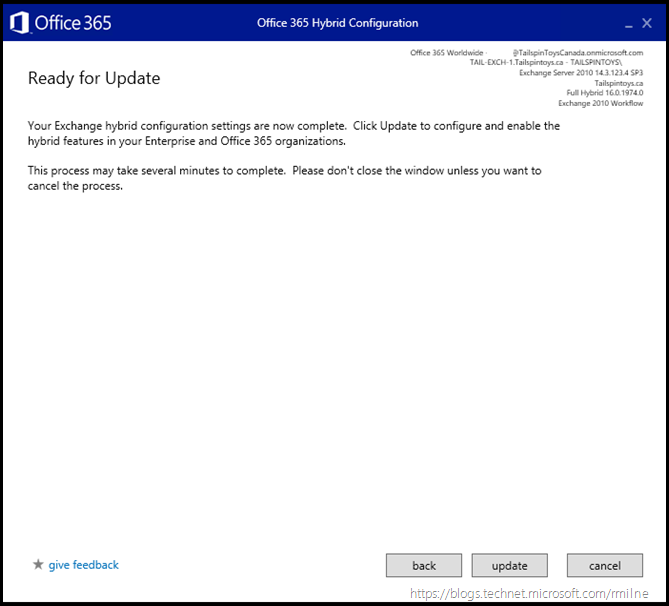
All the information has been provided, and now we are ready to start the configuration task!
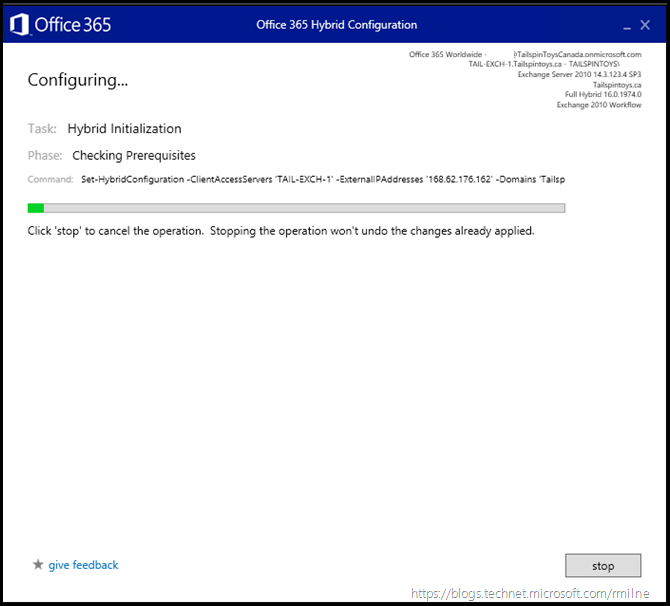
And we are off to the races now, and the on-premises and Office 365 configuration is being updated.
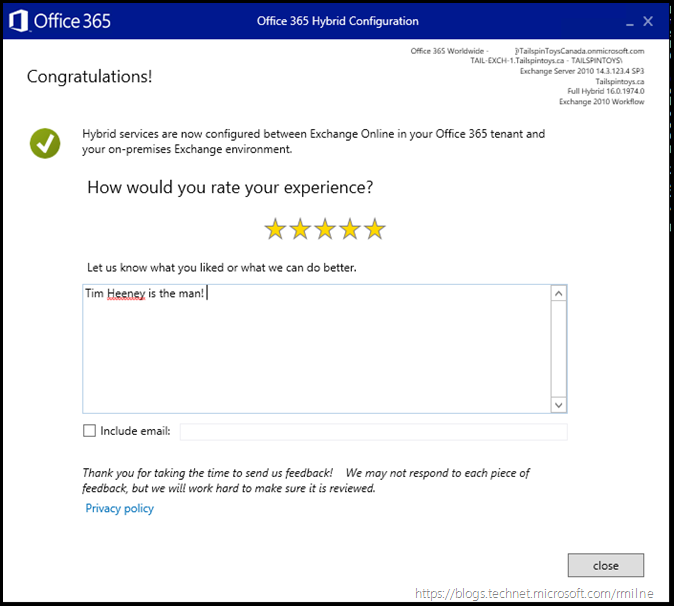
Finally we are presented with the completion screen. Again, note the feedback opportunity.
Cheers,
Rhoderick
