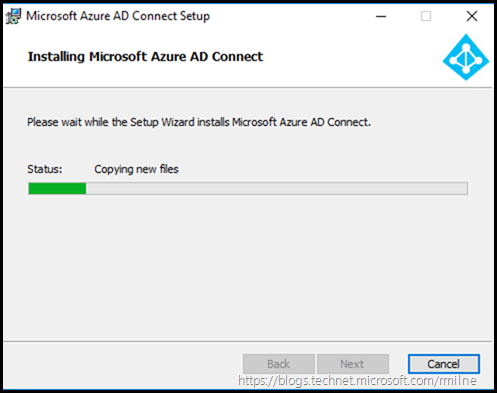
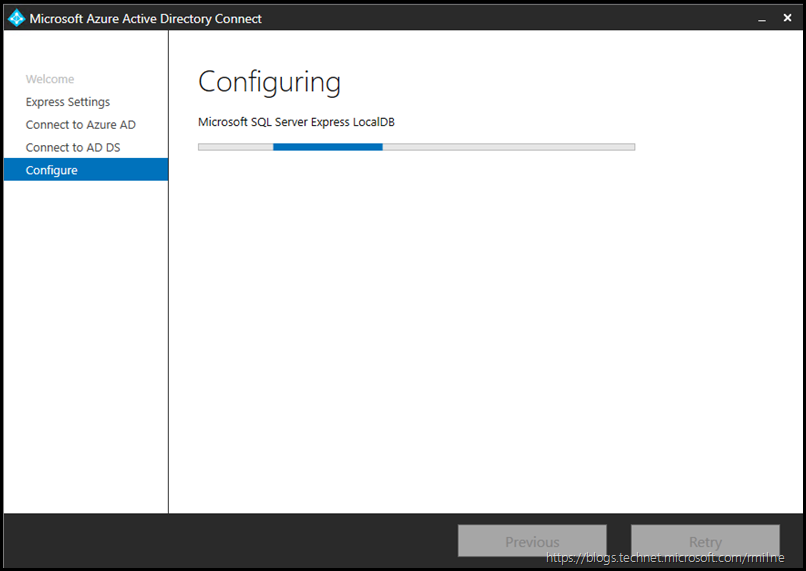
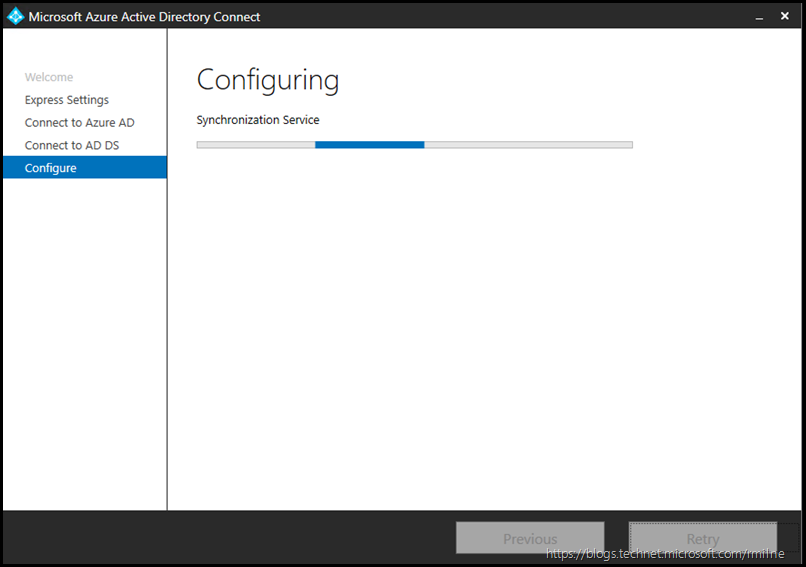
This is a reference post to illustrate the installation experience when installing Azure Active Directory Connect (AAD Connect). AAD Connect is often referred by its older name of DirSync as it rolls off the tongue slightly easier. This post was written in March 2017, and installs AAD Connect version 1.1.443.0 which was the latest version at the time of writing. The Express installation option is shown below. Note that there are newer versions of AAD Connect released, and will continue to be released.
The underlying OS is Windows Server 2016, as the latest build of AAD Connect now supports installation on Windows 2016. This the Wingtiptoys.ca lab environment which consists of a single Active Directory forest.
For the history of AAD Connect builds, with the changes and fixes in each build please see Azure AD Connect: Version release history.
The links present in each installation screen were copied into the post for completeness.
Preparation
Please always review the latest prerequisites and release notes. This is now a very extensive list and you can save yourself a lot of time and trouble by ensuring you are deploying the tool in the connect manner.
The AAD Connect installer was downloaded to the local file system and then executed. The file is called AzureADConnect.msi
Express Installation
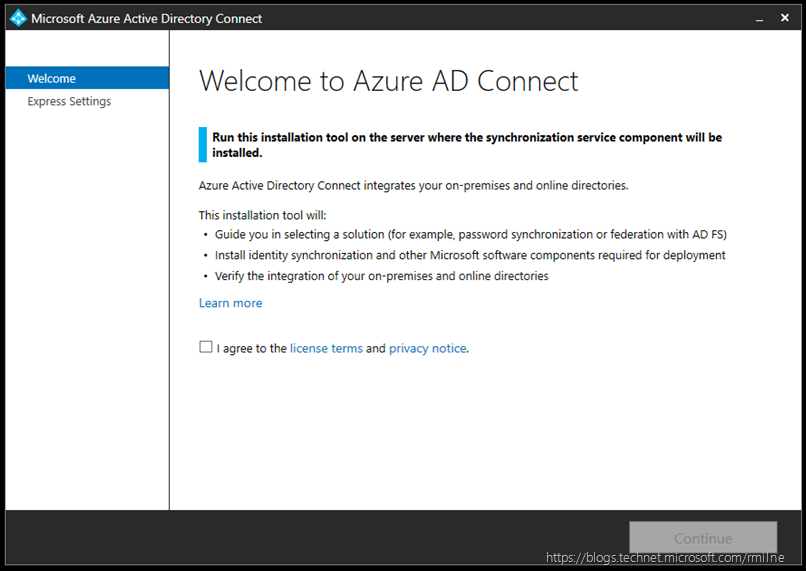
Running AzureADConnect.msi brings up the initial launch screen
First up we need to review and accept the license terms.
Clicking Learn More will take you to Connect Active Directory with Azure Active Directory
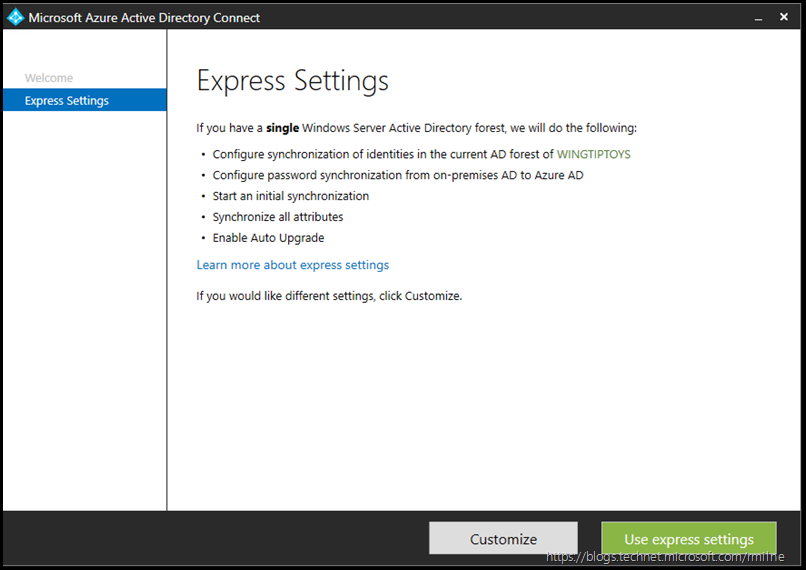
Most customers will typically use the express installation, and this is the default setup option. If required the custom setup option can be used, but that is not in scope for this post.
Setup outlines what will be done if there is a single AD forest.
Note that Auto Upgrade is now part of the product and is enabled by default in an Express install. Getting started with Azure AD Connect using express settings.
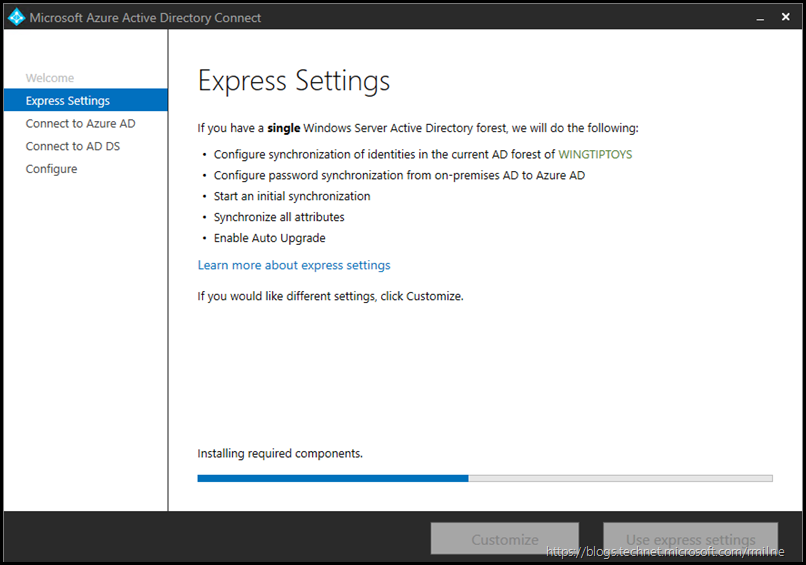
After reviewing the deployment outline, and ensuring express meets your requirements click the use express settings button. Setup will then launch the express install and preform the necessary configuration options. This will take a few minutes.
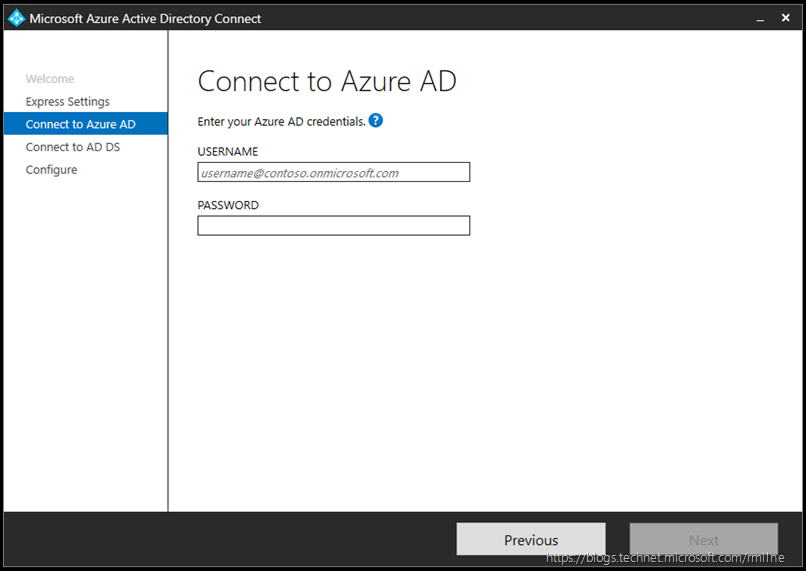
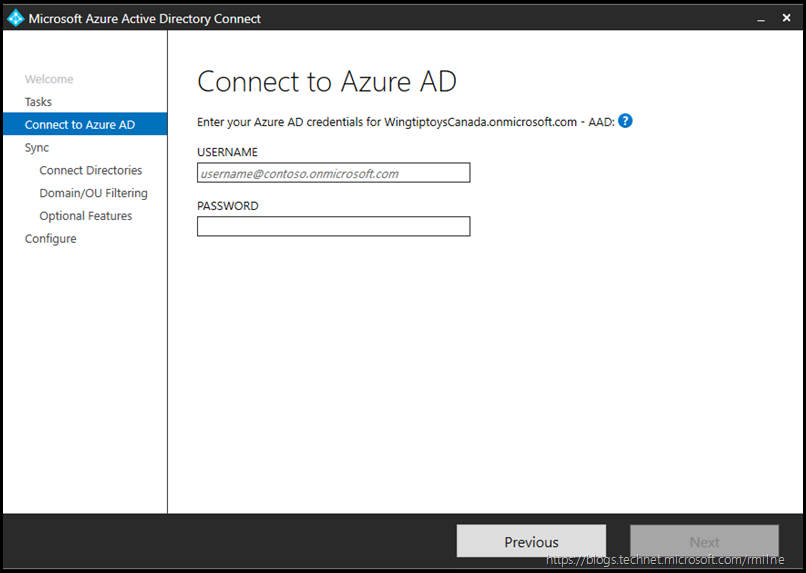
In order to configure the solution, the installer needs to connect to Azure AD and also on-premises AD. Firstly, you will be prompted to provide Azure AD credentials.
The required permissions are outlined under the help icon, which links to Azure AD Connect: Accounts and permissions
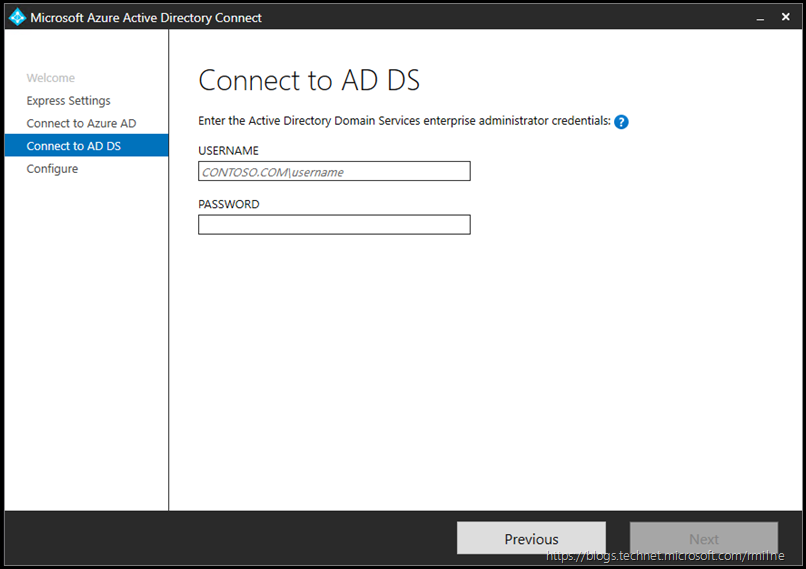
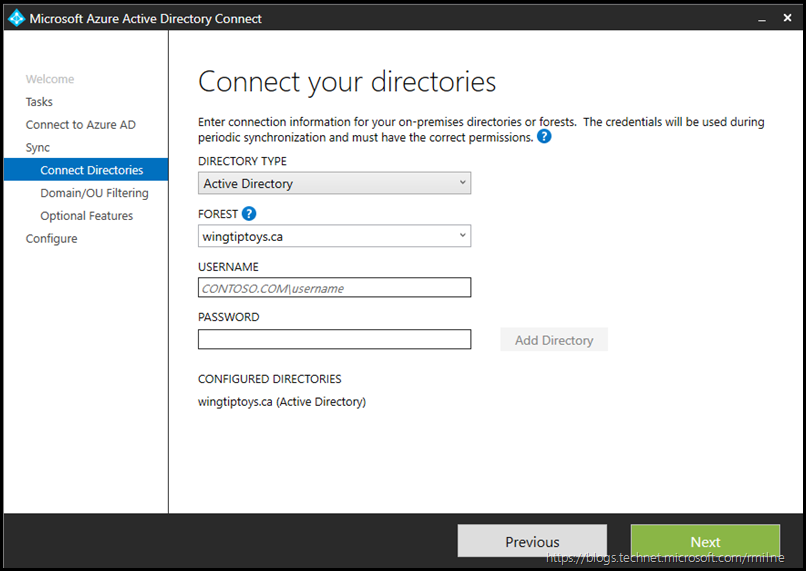
Next up you will be prompted for the on-premises AD credentials. In order to keep the two sets of credentials separate mentally I always enter them in different formats. The Azure AD credentials are in the user@tenantname.onmicrosoft.com format, whereas on-premises AD is domainuser.
The credentials are verified to ensure that they are valid, and have the appropriate access to the relevant environment.
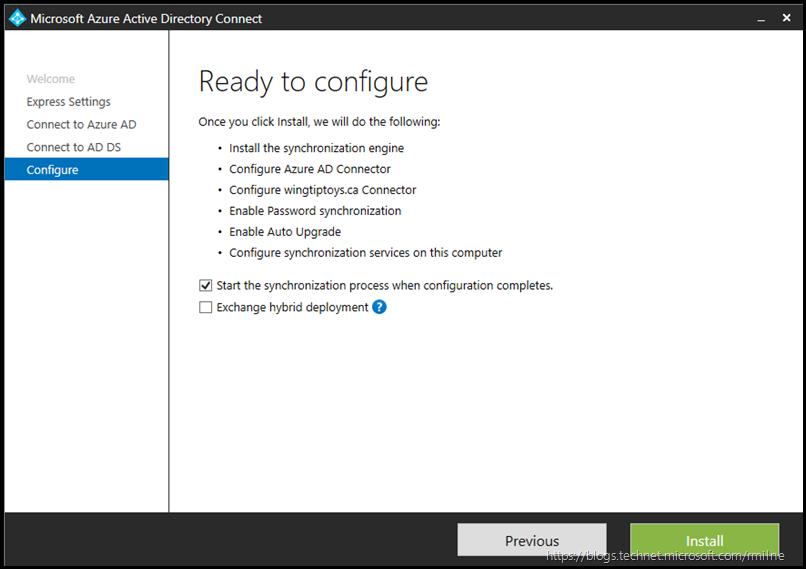
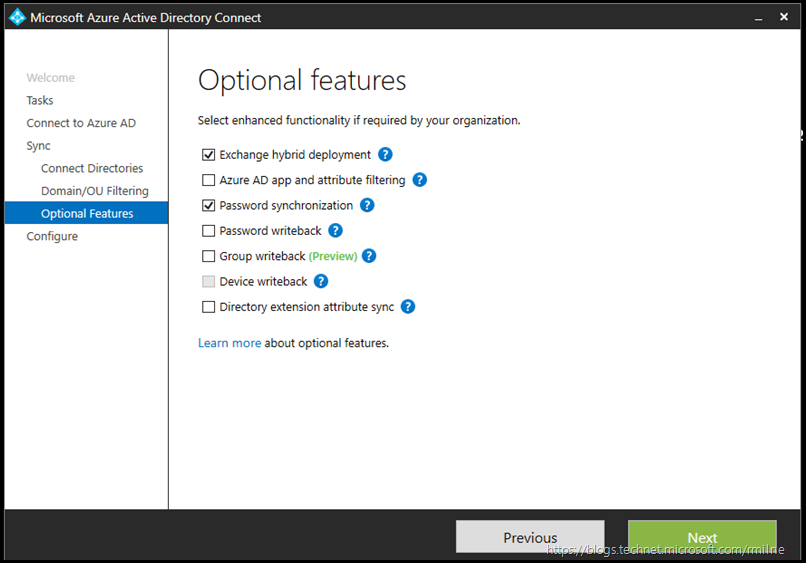
Now that the installer has the correct credentials the configuration phase may begin. Again, an outline is provided of the tasks to be executed. Note that Auto Upgrade will be enabled, as will password hash synchronization.
For more information on Exchange hybrid configuration please see Exchange Server Hybrid Deployments.
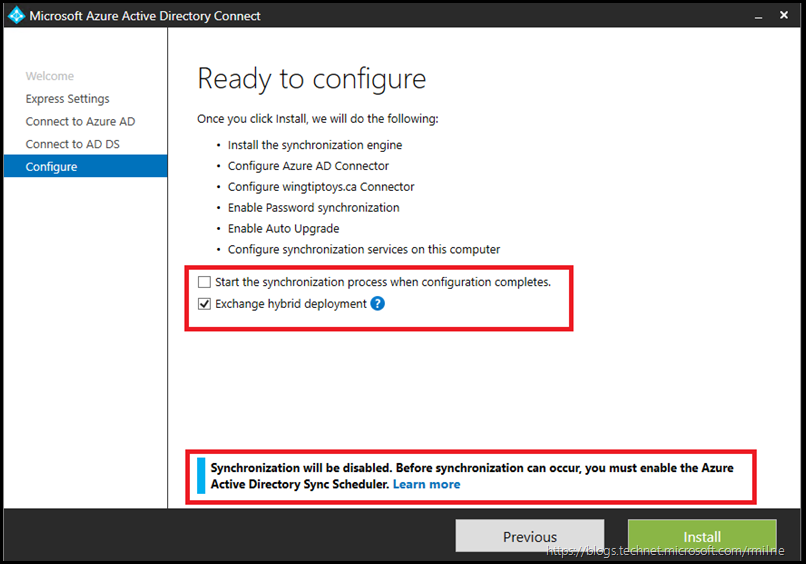
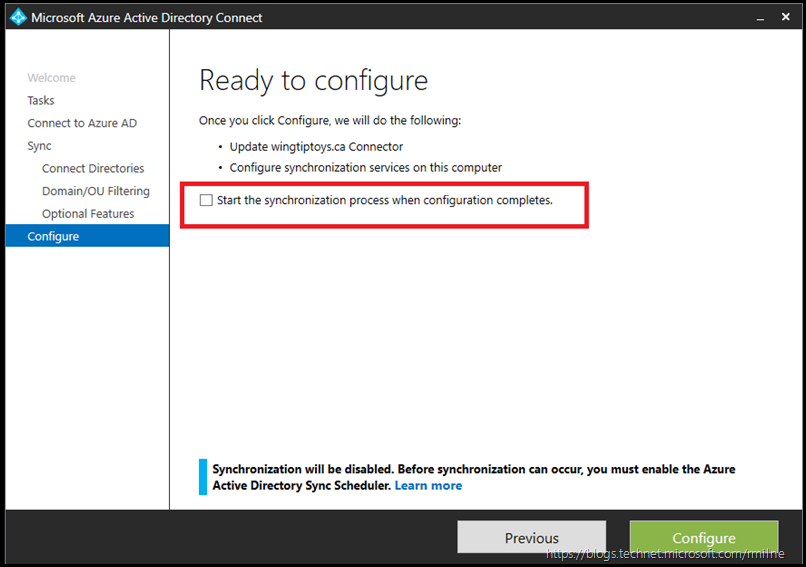
If you wish to limit which objects are to be synchronised or perform additional customisation before synchronisation runs for the first time, uncheck the “start the synchronization process when configuration completes”. This is highlighted below. A warning is also displayed to state that synchronisation will be disabled and must be enabled before synchronisation will occur.
This lab has Exchange hybrid, and we want to take advantage to the attribute write back. Thus the tick box for Exchange hybrid was also ticked. Your environment may be different.
Clicking Learn More will display Next steps and how to manage Azure AD Connect. Though more details on the scheduler can be found in Azure AD Connect sync: Scheduler
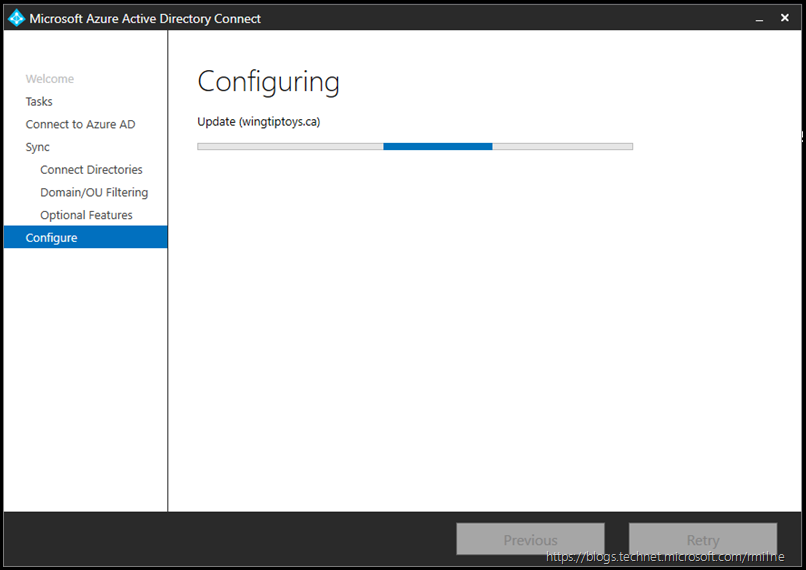
Clicking Install will then allow the configuration to complete. This will take several minutes.
Yes – several minutes. You will see multiple items being configured.
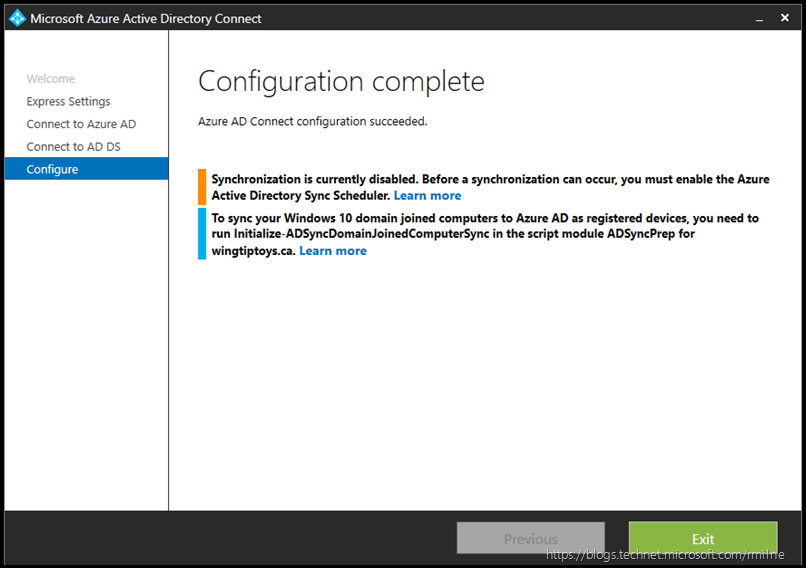
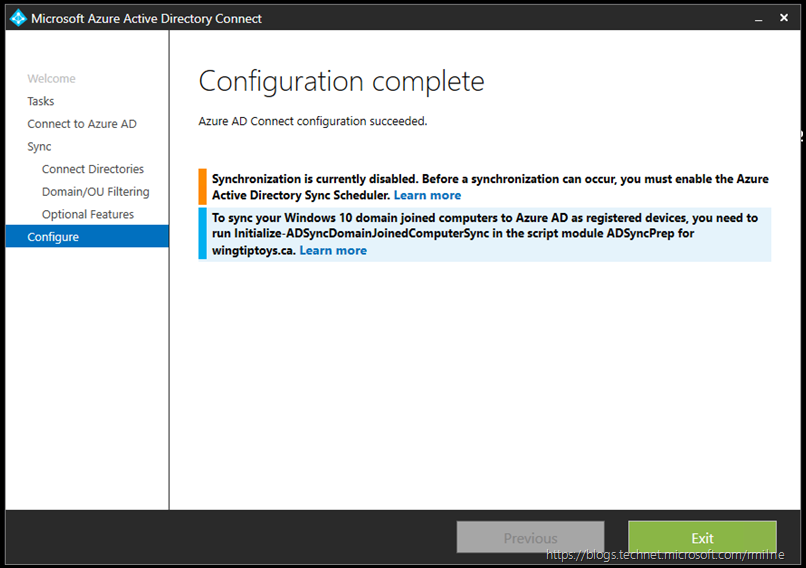
When configuration is complete, you will be provided with a summary of the installation. Note that you are again warned that synchronisation has been disabled. Do not be surprised by this. This is an improvement over the previous AAD Sync installation which did not provide this feedback.
The on-screen help links are provided below for reference:
Next steps and how to manage Azure AD Connect
Connect domain-joined devices to Azure AD for Windows 10 experiences
Post Install Tasks
The Next steps and how to manage Azure AD Connect link on the configuration complete screen is a great place to start.
 It is also worth reviewing the options provided in AAD Connect. After installation has completed you should have a new desktop shortcut. The target of the shortcut is AzureADConnect.exe which is located in:
"C:Program FilesMicrosoft Azure Active Directory ConnectAzureADConnect.exe"
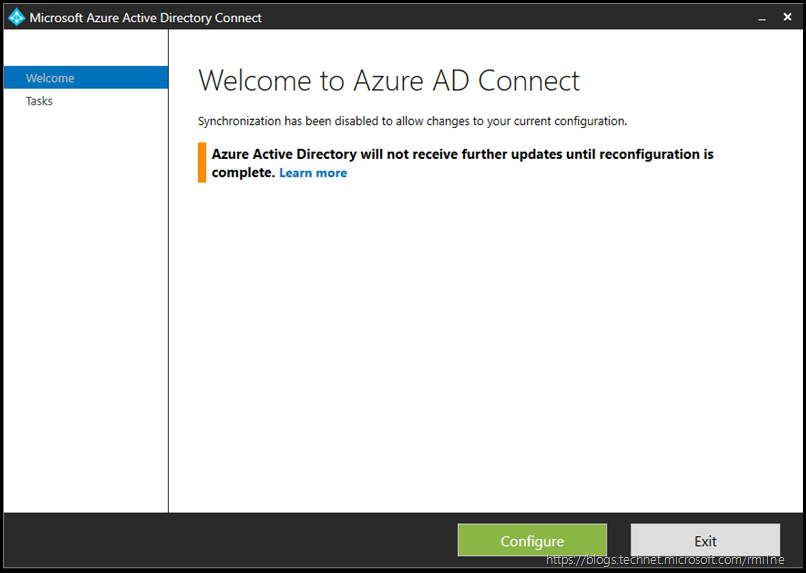
Running Azure AD Connect will prompt for elevation if UAC is enabled, you will need to allow it to be elevated. The below Welcome to Azure AD Connect screen will be displayed.
Remember that in this example, synchronisation was disabled during the installation. To see where this was set, scroll up and review the screenshot where Exchange hybrid was enabled. The separate tick box to disable synchronisation was on that screen.
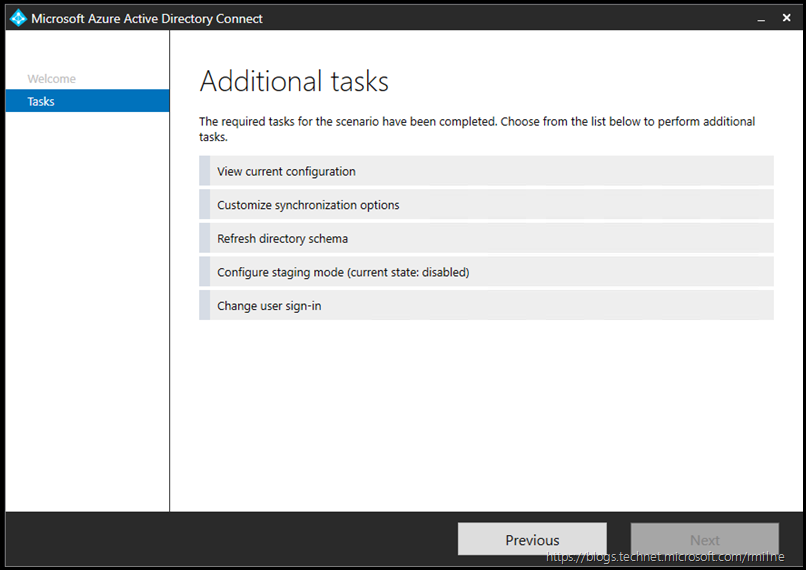
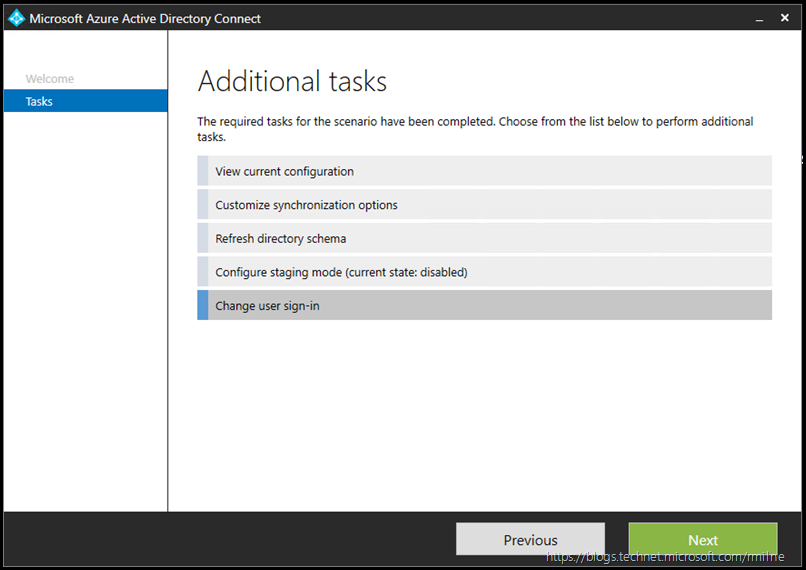
Clicking configure will then provide a list of additional tasks.
In the sections below, each task option will be explored so you can see those screenshots.
View Current Configuration
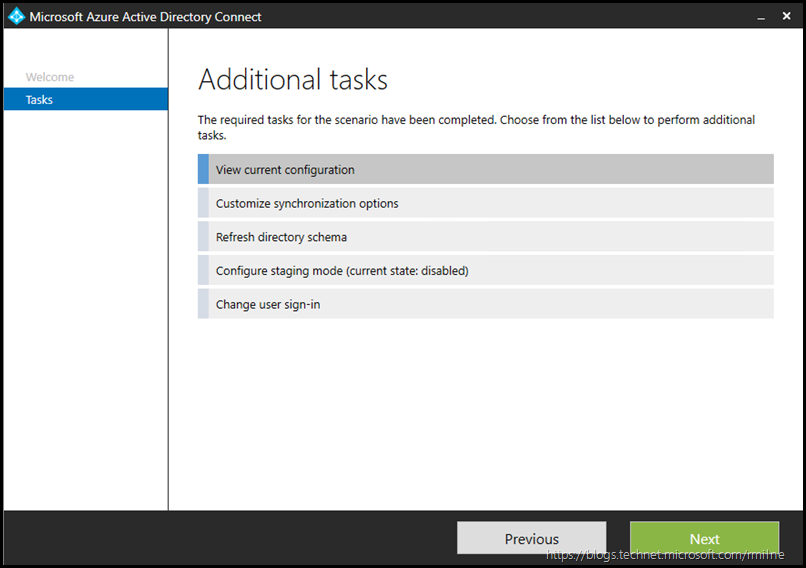
Selecting to view the current configuration
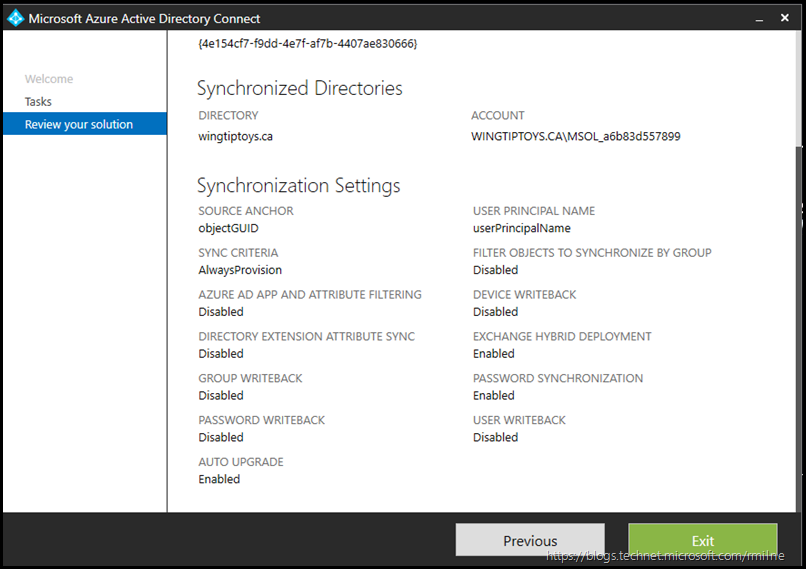
The status of the options are shown in addition to the service account that is currently used.
Note that the source anchor is objectGUID. This is the default for source anchor.
Customise Synchronisation Options
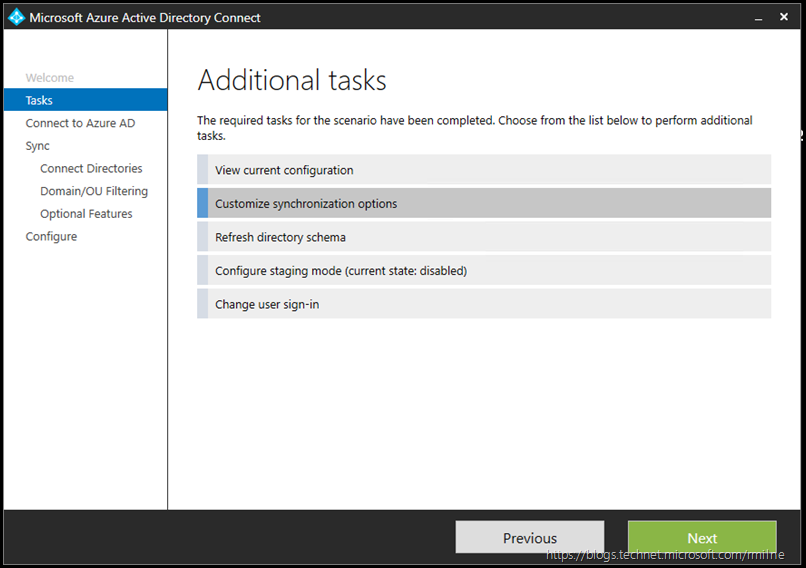
Selecting customise synchronisation options will allow domains and OUs to be filtered.
Provide credentials to connect to Azure AD.
Provide credentials to connect to AD, or click next if the domains are already configured.
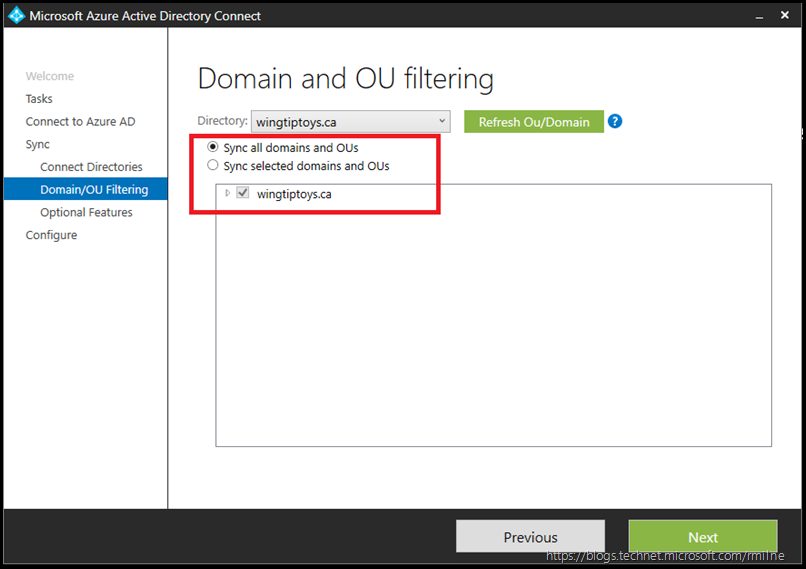
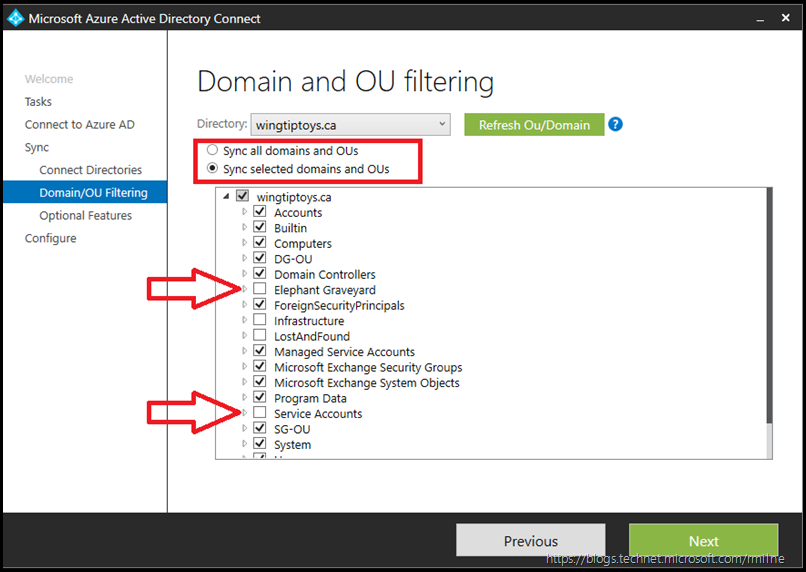
By default all domains and OUs are to to synchronised. This may not be the desired configuration, and customisation is required. If so select to sync on the selected domains and OUs.
This will then enable the OU and domain object picker. In the below example, certain OUs have been excluded. Service accounts and terminated accounts are not to be replicated to Office 365.
Though in normal run state, most OUs will probably be synchronised. This allows for computers, groups, contacts and user objects to be synchronised.
Next, the optional features can be enabled or disabled.
For details on each, the help link is included below:
Exchange Server Hybrid Deployments
Azure AD app and attribute filtering
Implementing password synchronization with Azure AD Connect sync
Getting started with Password Management
Azure AD Connect: Enabling device writeback
Azure AD Connect sync: Directory extensions
After making the correct selection, click next to get to the ready to configure stage. Again note that your are prompted to enable directory synchronisation. This can be done now via the wizard or later manually.
The configuration is then updated:
After applying the changes, the configuration is complete. In this example, the synchronisation scheduled was not enabled (tick box was cleared)
The help links are below for reference:
Connect domain-joined devices to Azure AD for Windows 10 experiences
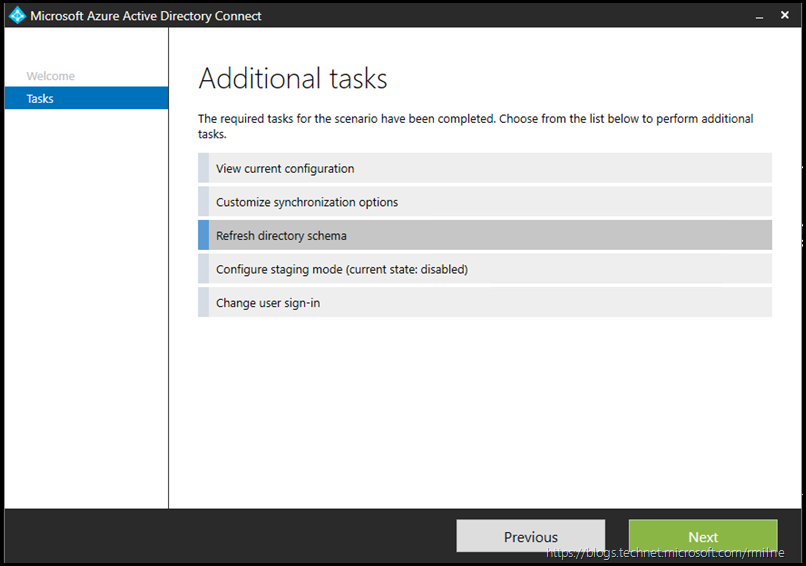
Refresh Directory Schema
Selecting to refresh the directory schema
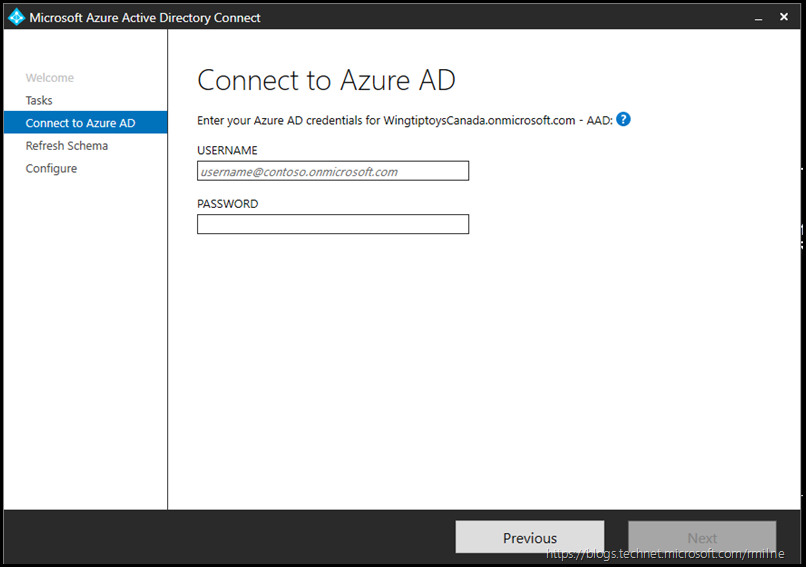
You are prompted to connect to Azure AD:
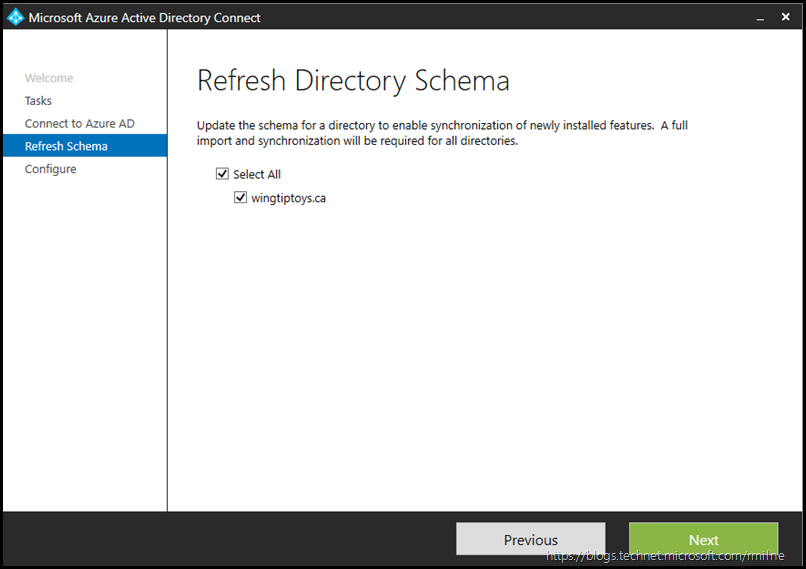
Next you will have the opportunity to update the schema for the relevant directories. Note the caveat about full sync.
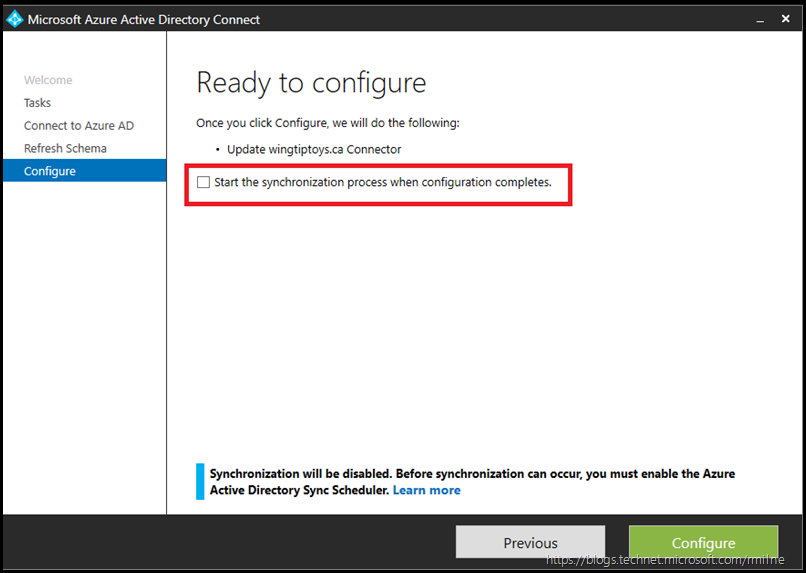
AAD Connect is now ready to configure, and again the option to enable synchronisation is offered.
Help link: Next steps and how to manage Azure AD Connect
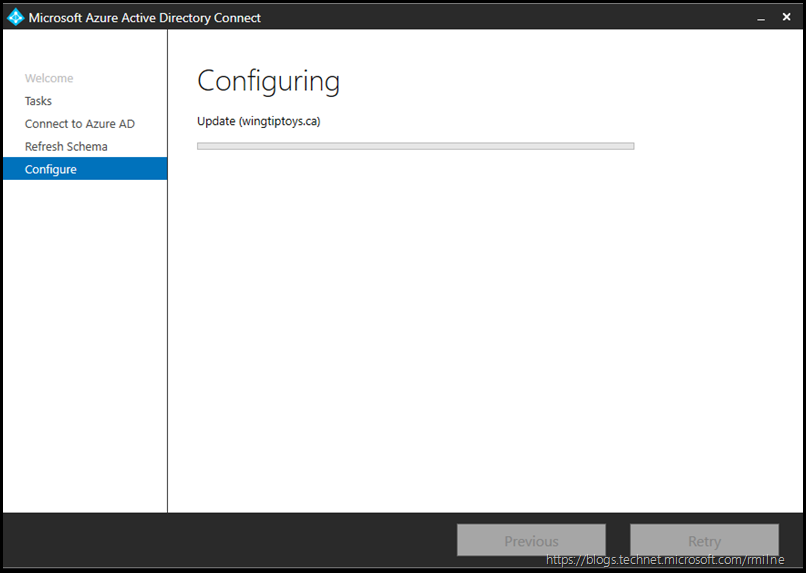
Clicking configure will initiate the configuration process:
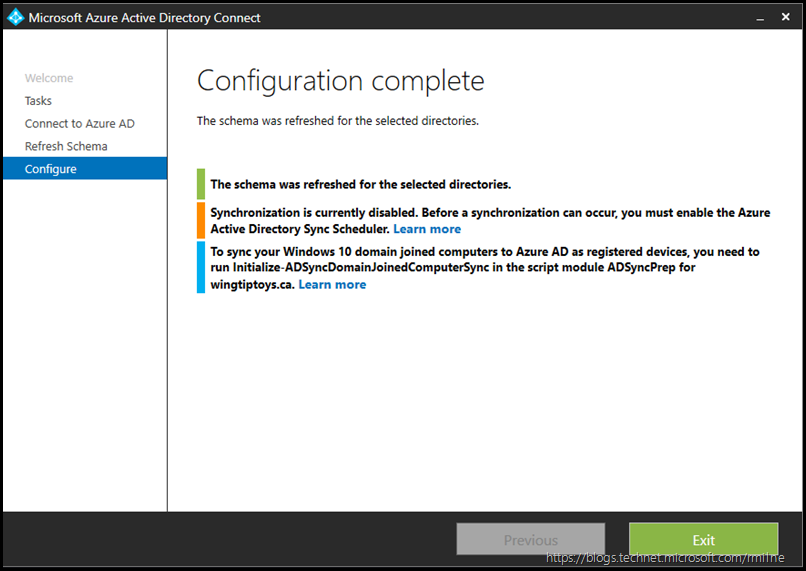
Configuration is now complete, and a summary is provided.
Help links:
Next steps and how to manage Azure AD Connect
Connect domain-joined devices to Azure AD for Windows 10 experiences
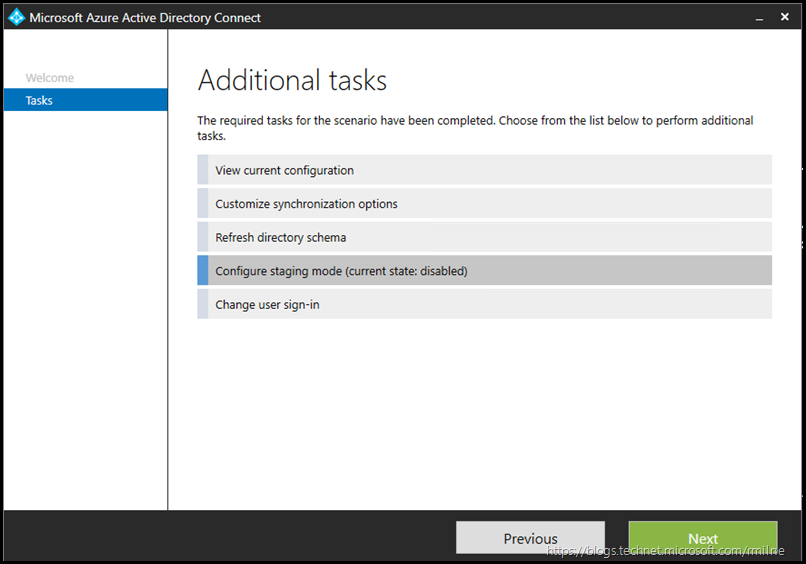
Configure Staging Mode
Selecting to configure staging mode
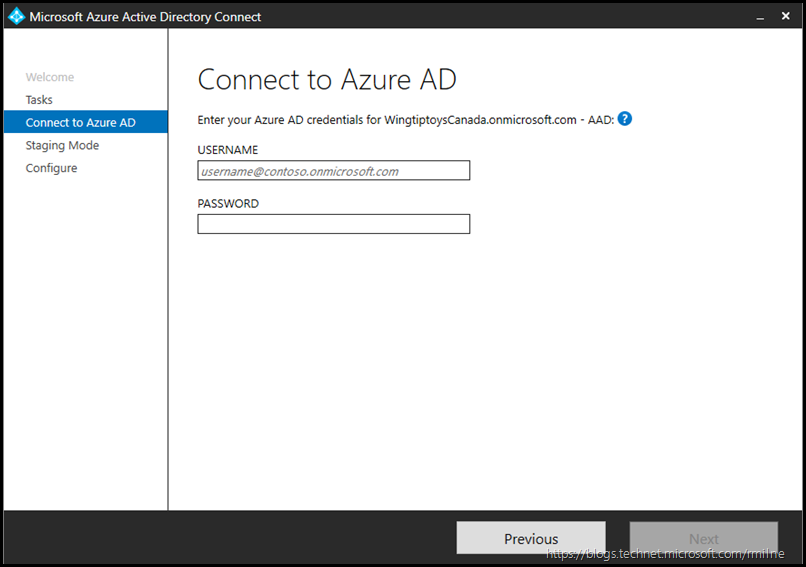
Provide credentials to Azure AD
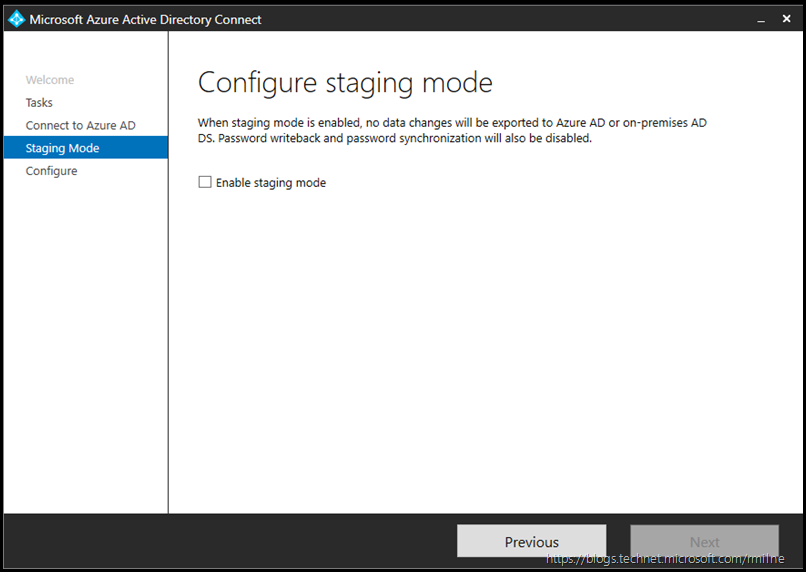
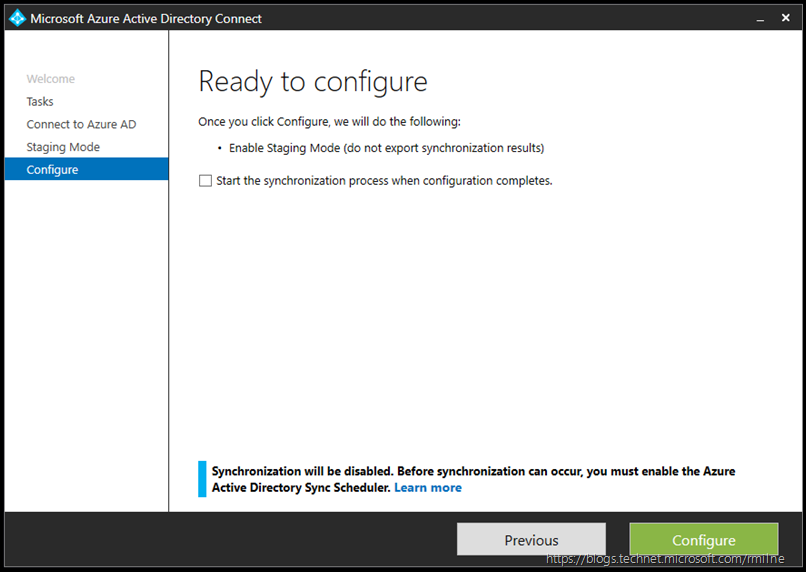
You are then able to enable staging mode
Change User Sign-In
Selecting change user sign-in
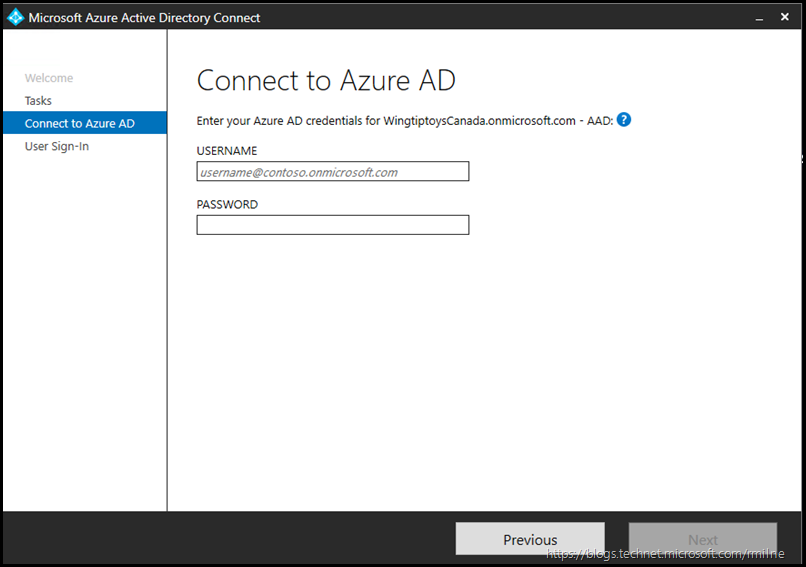
Provide credentials to Azure AD
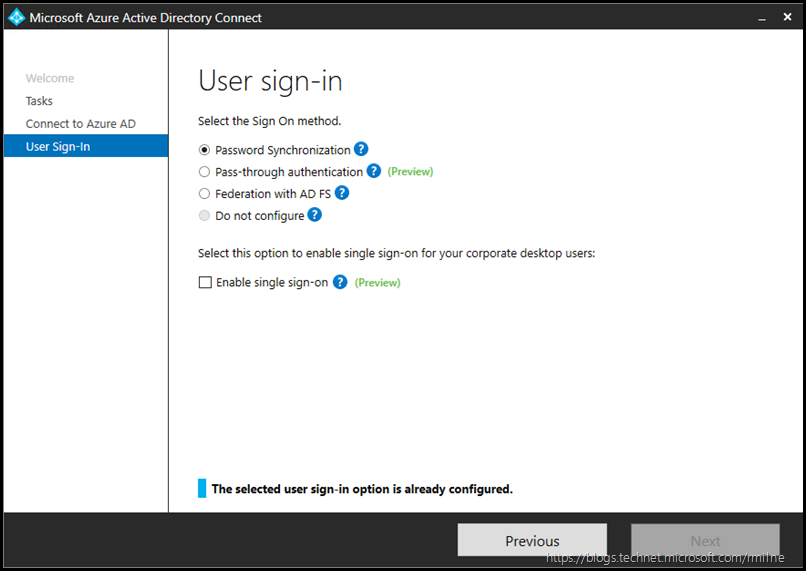
Next you will be able to select the user sign-in options.
Refer to the below for more details on each of the options:
Password Synchronization - Implementing password synchronization with Azure AD Connect sync
Pass-through authentication - What is Azure AD Pass-through Authentication
Federation with AD FS - Azure AD Connect user sign-in options
Enable single sign-on - What is Single Sign On (SSO) (preview)
Each of the sign-in options will launch the requisite addition prompts so that the feature may be configured.
Cheers,
Rhoderick
