In part one we installed the AD FS server on our corporate network, and tested that it was working.
Now we need to make the AD FS infrastructure available to the Internet in a secure fashion, so that Office 365 will be able to contact the AD FS proxy to authenticate user requests.
In part three we will add the AD FS infrastructure to the Office 365 configuration,
Planning And Prerequisites
Install And Configure AD FS Proxy OS
In this installation, the AD FS proxy server will be placed into the DMZ, and installed as a workgroup machine since the TailspinToys organisation does not possess a separate management forest in the DMZ. Ensure the machine is built as per your standard build process, is secured and all Microsoft updates are installed.
You will want to install the April 2014 Windows 2012 R2 update to light up additional pieces of AD FS functionality, but we will save that for a later blog post. If you do want to take a peek at this now, the PFE Platform folks are rocking it over here – please subscribe to their RSS feed too!
Install And Verify Certificate
As discussed in part one, you will need a certificate from a trusted third party. Ensure that you check with the CA to ensure that you are able to install the certificate onto multiple servers as this is blocked in some license agreements. This is something that you must check directly with the CA.
If you are allowed to install the certificate from the AD FS server, then this simplifies matters else you will require an additional certificate. The name must match the AD FS namespace that you selected through the AD FS design process.
Name resolution
Since the AD FS server will be in a network that may not have access to the internal DNS zone information, ensure that it is able to resolve the AD FS namespace to the internal AD FS infrastructure. A swift update to the local hosts file may suffice, just remember to add this to your build documentation.
External DNS Record
Create external DNS record for the AD FS proxy server. This A record will exist in the external DNS zone of you are using split DNS. In the TailspinToys enterprise (cough, cough this lab) the internal DNS zone is held on AD integrated DNS zones. The external zone is at a commercial ISP, so the external DNS record was created at the commercial ISP so it resolves to the external IP of the AD FS proxy infrastructure when I am at Starbucks.
As with the internal AD FS farm, there should be multiple WAP servers in the DMZ. They should be load balanced, and the DNS record should resolved to the VIP.
Open Firewalls
Having the external DNS record point to the AD FS server’s external IP address will not allow traffic to flow unless the firewalls are configured to do so. In enterprises the AD FS proxy server will be installed into a DMZ so there will be an internal and external firewall. Both must be opened to allow SSL traffic over TCP port 443. In addition to this, servers will also need access to the CRL distribution points on the Internet to verify certificate validity. This will be over HTTP using port TCP 80.
Exchange administrators should be used to this now as they have see Exchange updates take a long time to install on Exchange servers do not have access to crl.microsoft.com. In the case of AD FS, the server should be able to hit the CRL of external CAs.
The AD FS server will require access to the Internet in order to complete the configuration of the solution (in the 3rd post of this series). This may be an issue if your servers are behind a proxy solution.
Installing Web Application Proxy
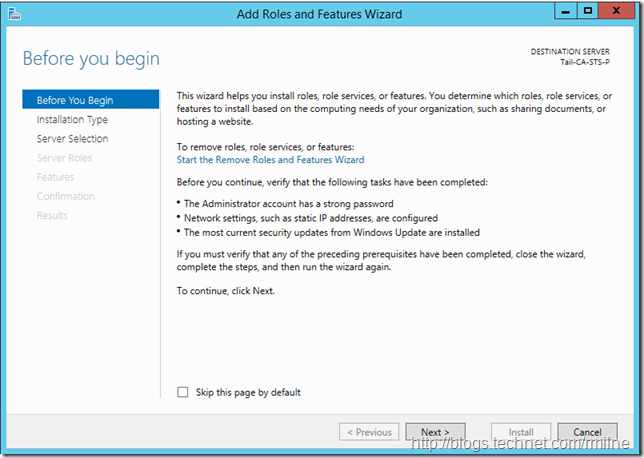
Let’s fire up the Add Roles Wizard from Server Manager!
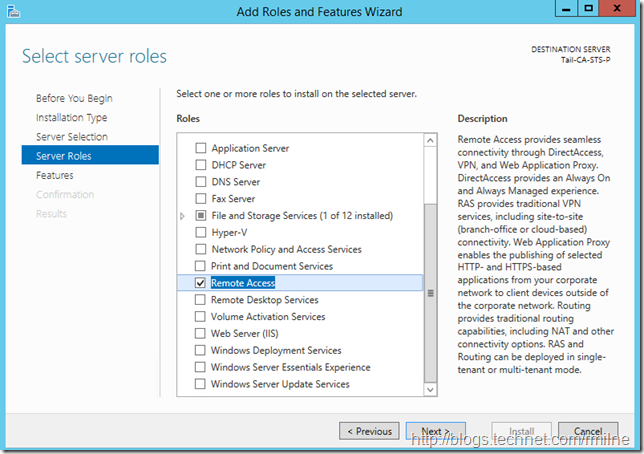
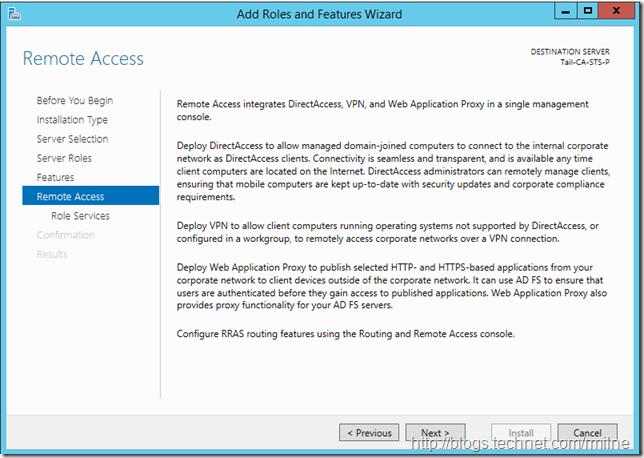
As noted in the previous post, there is no longer a separate AD FS proxy role in Windows 2012 R2. The Remote Access feature provides VPN, Direct Access and Web Application Proxy (WAP) functionality. It is the latter that we need to install.
Select Remote Access and let’s go find the droids we are looking for…
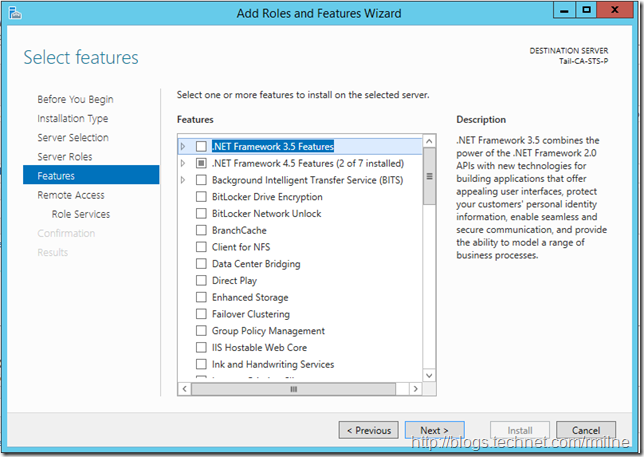
Unless you want to add any features, like telnet * for troubleshooting purposes later, click next.
The Remote Access role selection process starts. Unlike in days of old when installing a feature would install all of the bits, and by extension potential vulnerabilities, Windows now wants to only install the bare minimum. This is a paradigm shift compared to the early days of IIS where it would install everything and then you have to spend time stripping stuff back out. Index extension attack anyone?
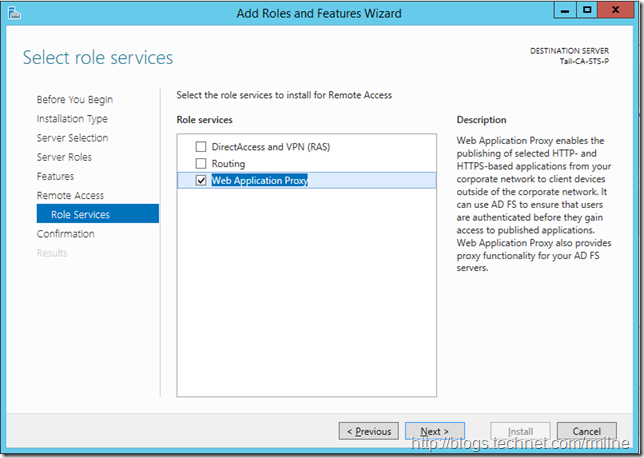
In our case we just want to install the Web Application Proxy role service, so select that and click next
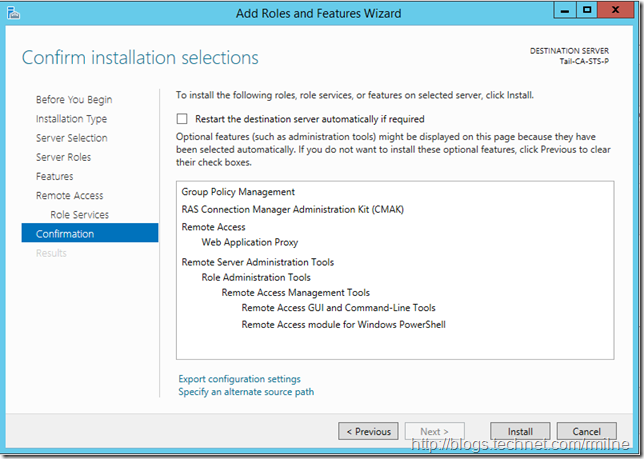
Confirm the choice, and then install.
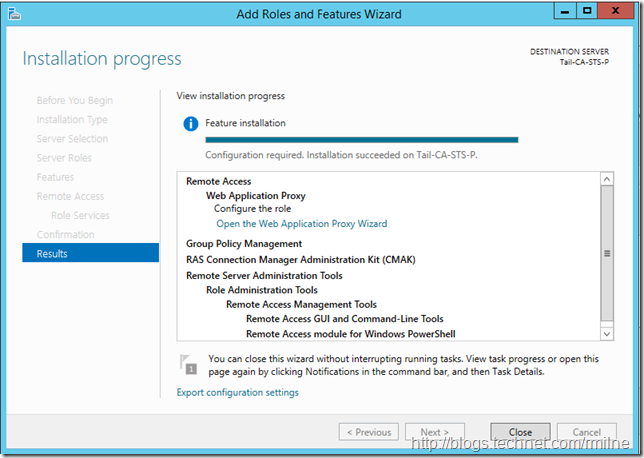
Once the necessary WAP role services are installed, we are then able to launch the Web Application Proxy Wizard to configure WAP.
Configure Web Application Proxy
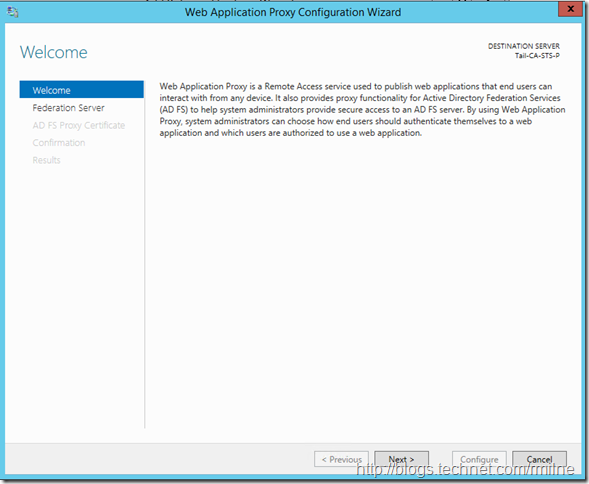
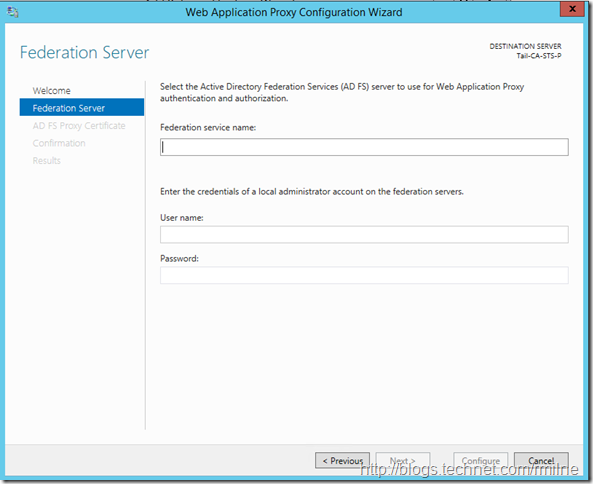
We need to configure the WAP proxy with the necessary information so that it knows it will be publishing our internal AD FS server and how to access AD FS.
On the screen below is where most configuration issues arise with this process. What a lot of folks do is interpret the Federation service name as the display name of the AD FS server. That will not get you very far unfortunately…
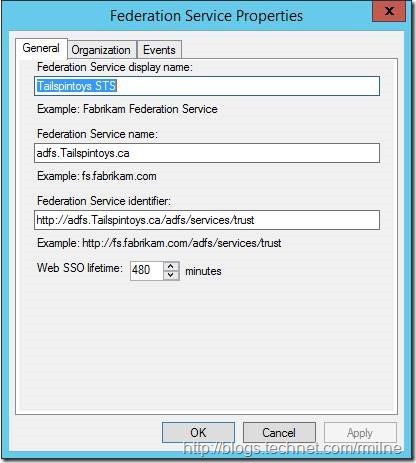
The federation service name field does NOT want you to enter the display name of the AD FS server farm. The display name in the previous example was “Tailspintoys STS”. and this can been checked by looking in the AD FS console
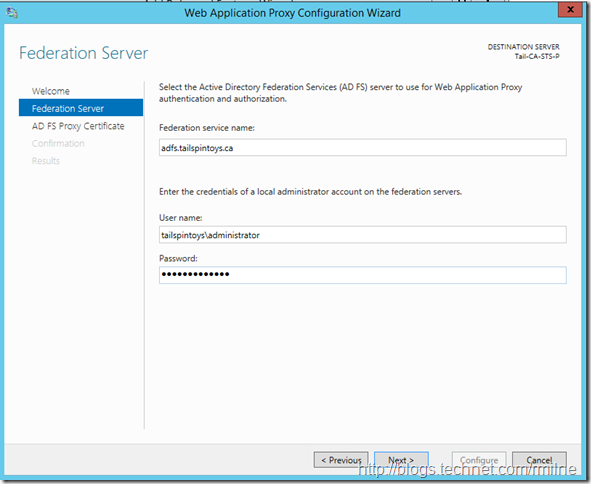
If you look closely at the AD FS properties, the federation service name is actually the FQ DN of the service. In our case this is adfs.tailspintoys.ca so let’s enter that along with credentials on the AD FS server so we are able to access AD FS.
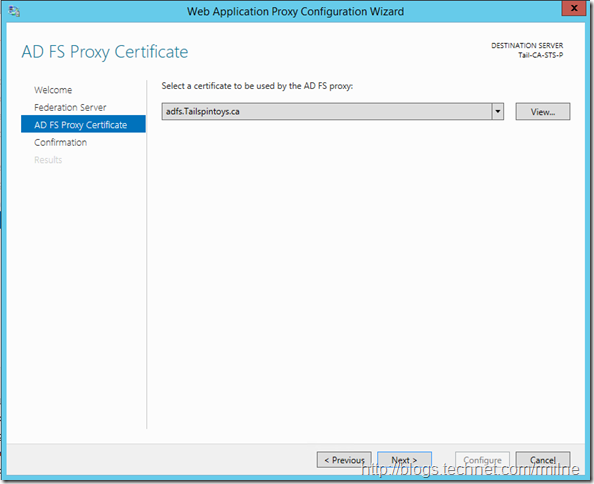
In the same way that we require a SSL certificate on the AD FS server, the same is true on the WAP as clients will establish SSL sessions to this machine. WAP will then us a SSL session to the internal AD FS server on TCP 443.
Since the certificate was installed and verified as part of the preparatory work, we select it and move on.
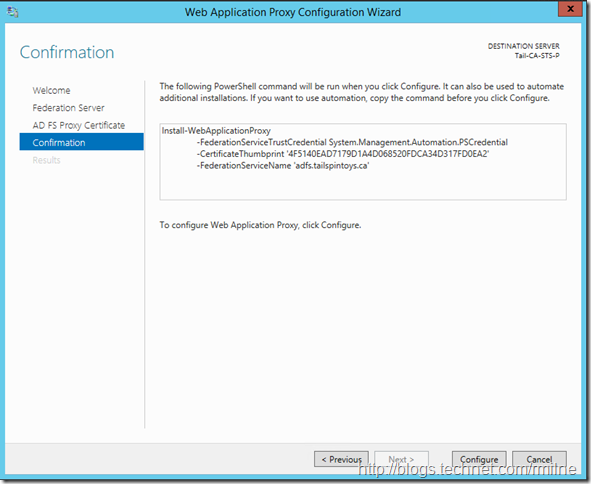
Verify the details, and click configure.
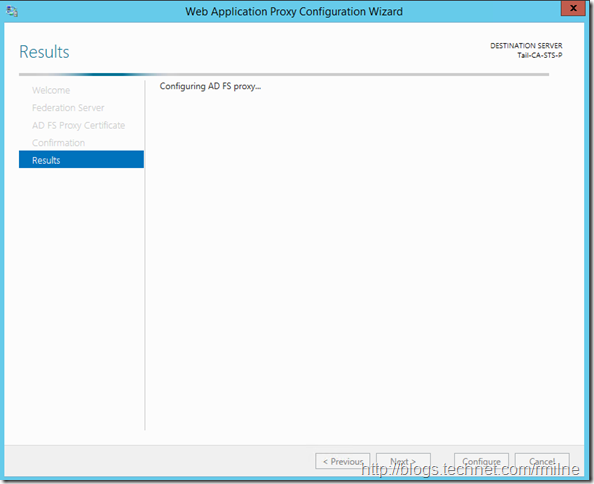
The wizard starts to configure the AD FS proxy
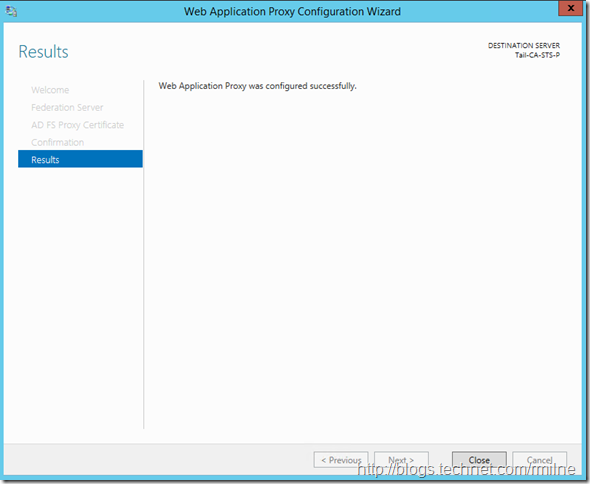
And shortly thereafter completes!
Verifying AD FS Proxy Installation
At this time we should have a functional AD FS proxy server that is able to provide internet based users with access to our AD FS server’s authentication services. But as always, we need to test!
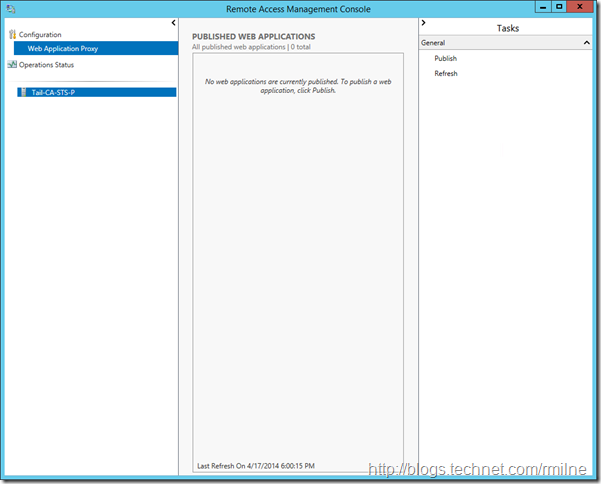
To open up the Remote Access management console, use the Remote Access Management shortcut in administrative tools.
If you have immediately launched this after installing the AD FS proxy it may take a few seconds or a refresh to show up. The other top tip is not to look for a published web app. Remember that WAP can be used to publish various applications to the internet, but in this case we are just wanting to use the base AD FS proxy components.
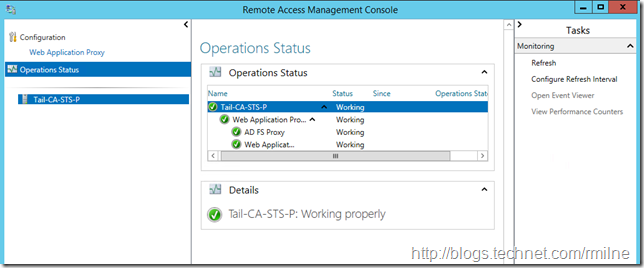
To check that the AD FS proxy is running, click onto the Operational Status in the left hand tree
Selecting the operational status, will then show how the AD FS proxy is currently running. You can also jump to Perfmon or Event Viewer from this node.
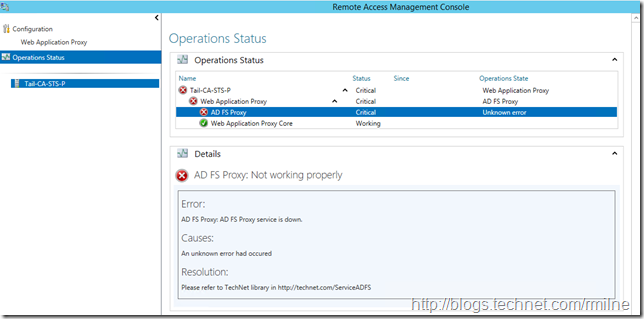
Should the AD FS proxy have an issue the console will light up like a Christmas tree. In this case I deliberately stopped the “Active Directory Federation Services” service on the AD FS proxy, please click to enlarge the image:
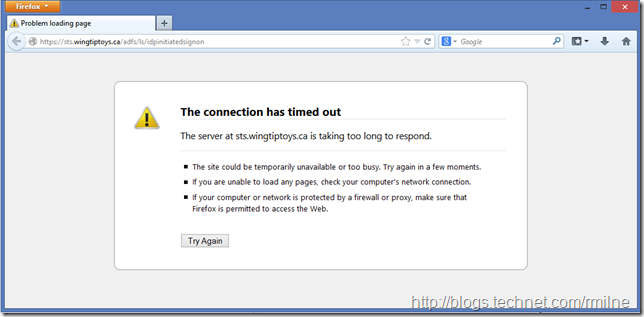
And as expected with the AD FS proxy crippled users will not be able to authenticate, even if they try an alternative browser!
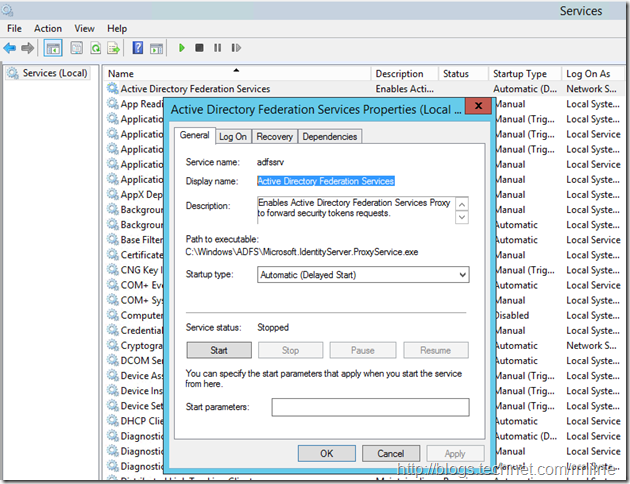
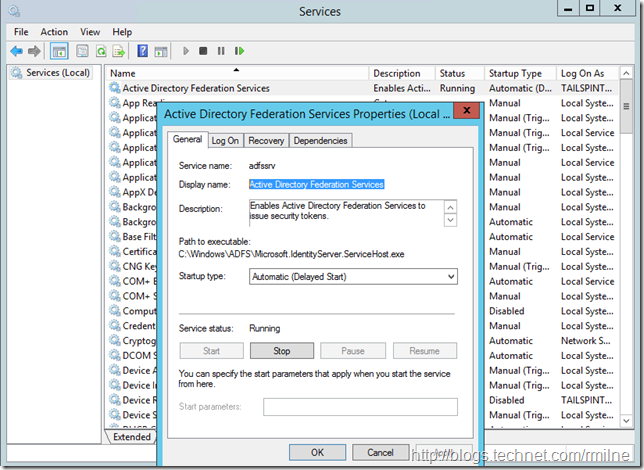
Even though the Windows service is name the same on both the AD FS server and the AD FS proxy, note that the executable path is different:
Verify AD FS Proxy Configuration
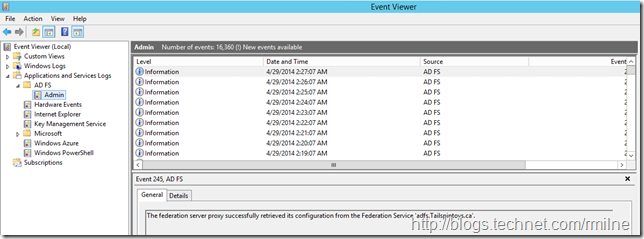
In event viewer on the AD FS proxy, open up the application and services logs and check that the proxy is able to retrieve it’s configuration from the AD FS server. This can be seen here, click to enlarge:
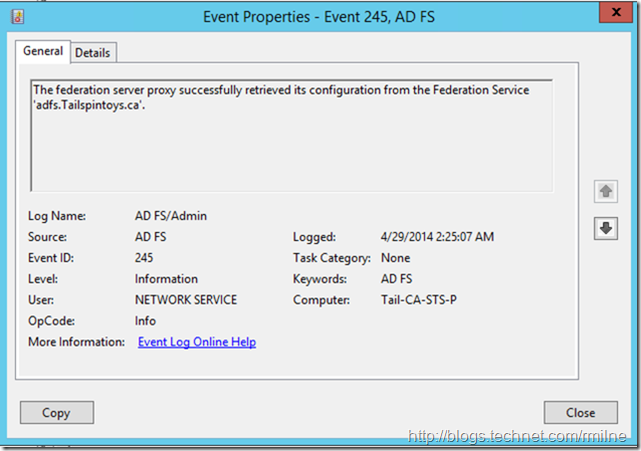
With the full event details shown here:
Verify Federation Service Metadata
Using the same URL as before, open Internet Explorer and navigate to your AD FS server’s federation metadata URL.
This will be something like the below, just change the FQDN to match your environment.
https://adfs.tailspintoys.ca/federationmetadata/2007-06/federationmetadata.xml
https://sts.contoso.com/federationmetadata/2007-06/federationmetadata.xml
The intent here is to ensure that we are able to get to the site externally. If you are not able to see the AD FS text rendered in the browser, start with ensuring that the firewalls are not dropping traffic.
Verify AD FS Sign-In Page
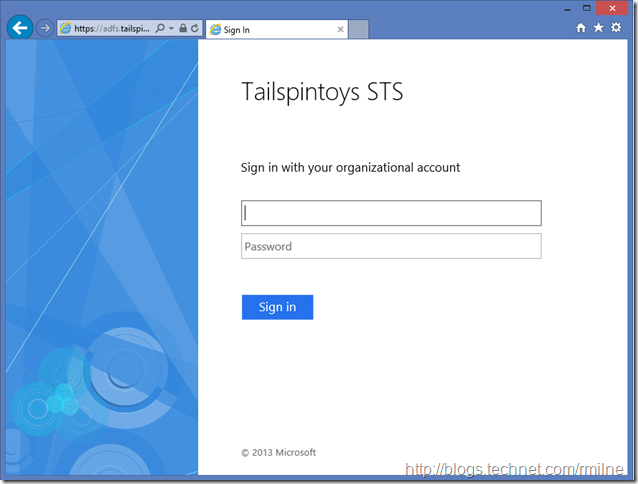
Browse to the AD FS sign-in page and test that you are able to authenticate.
The URL will be similar to the below, again change the FQDN to match your organisation’s.
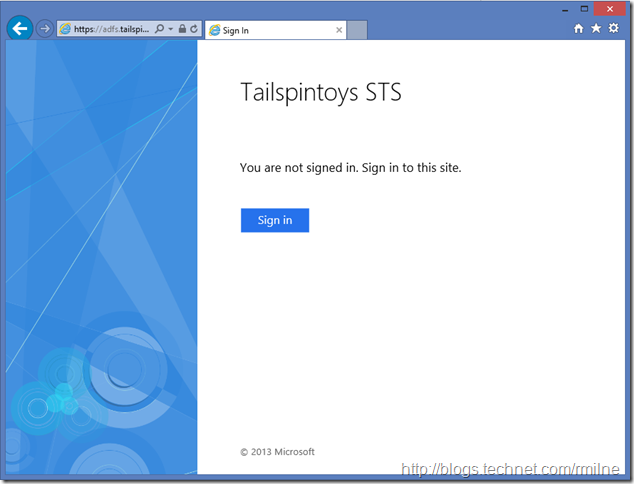
You should see the below, and be prompted to sign in:
(Note that I did not full screen the window before grabbing capture else it would be too small)
Clicking the Sign In button will prompt for credentials:
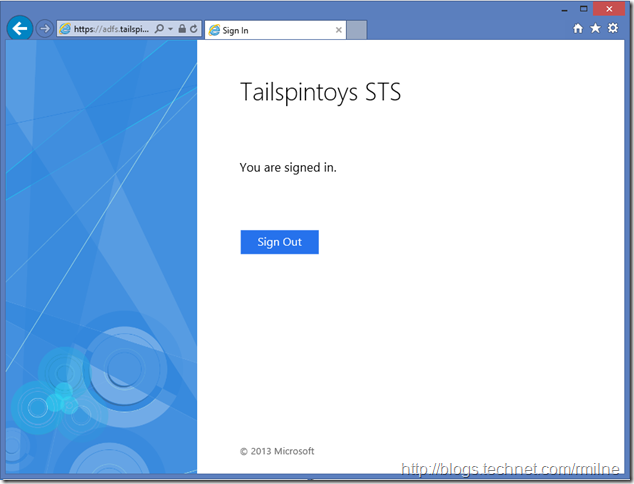
If you successfully authenticate then you will be rewarded with this stellar screen:
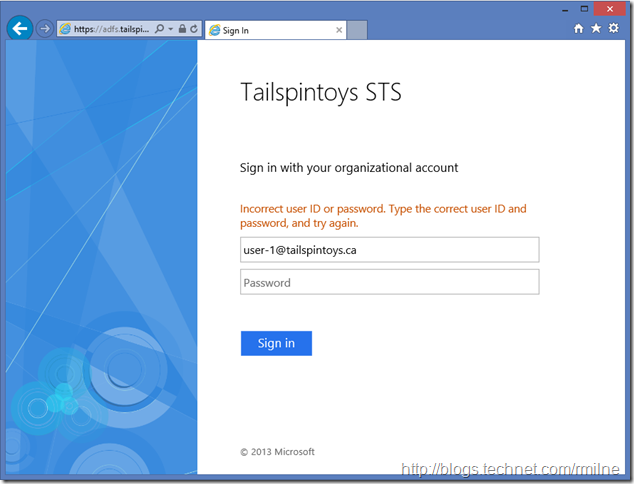
And if are unable to type a password (like me doing demos) then you will get this less than stellar result:
In part three we will finish this off, and instruct Office 365 to leverage the shiny AD FS infrastructure to authenticate users.
Cheers,
Rhoderick
* – Not having telnet client by default always grates. In the same way that explorer file options are always set to hide the good stuff like file extensions, system files and the ilk.
